Mechanical Keyboard & Keycap Deep Cleaning Guide | Oil Degreasing & Switch Maintenance
Step-by-step mechanical keyboard cleaning tutorial: safe keycap removal with wire pullers, mild soap soaking, switch plate dust brushing, and moisture-free reassembly.
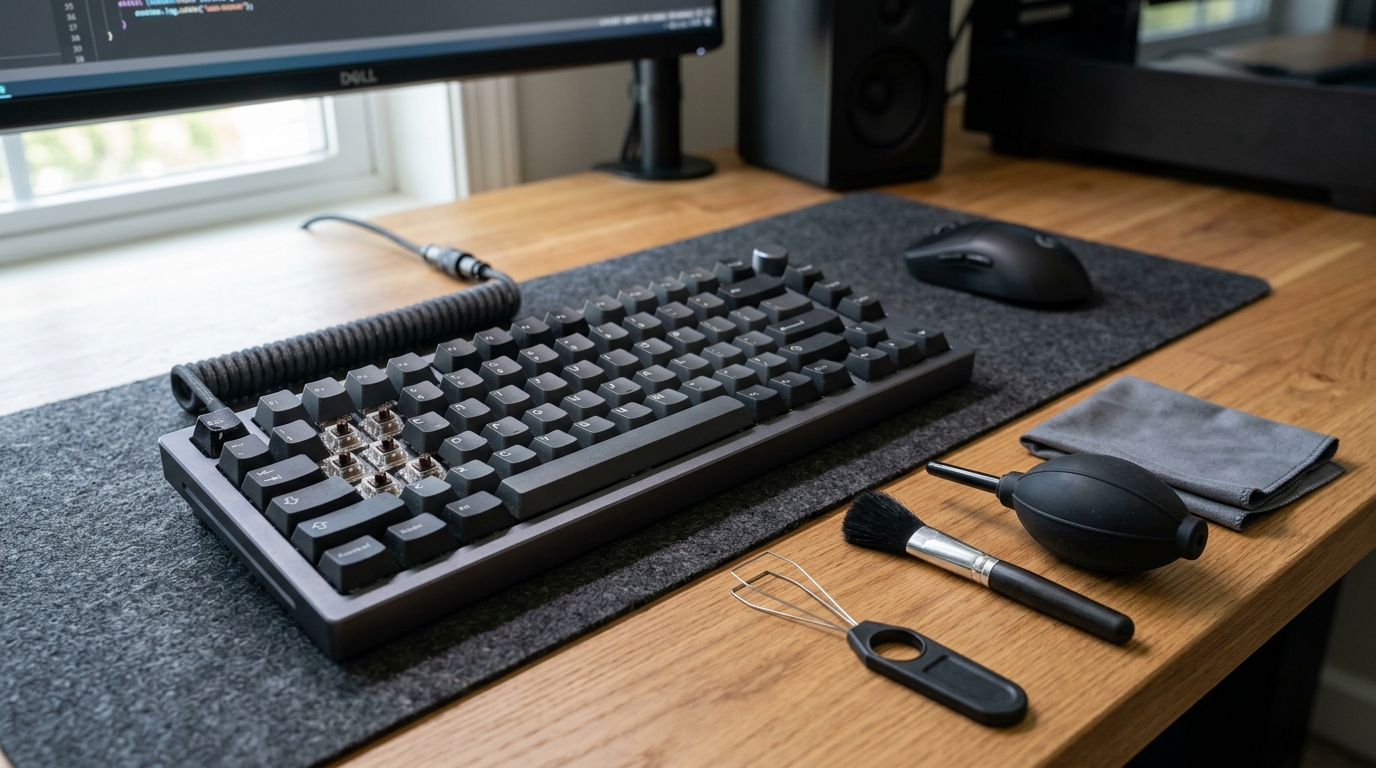
🛠️ Required Tools & Cleaning Agents
🔄 Alternative Detergents & Eco Tips
- Wire keycap puller → Alt: Plastic ring puller (Plastic ring pullers can scratch keycap edges; wire pullers hook diagonally and lift straight up safely.)
- Mild dish soap → Alt: Gentle hair shampoo (Shampoo contains surfactants that break down skin sebum and sweat without fading printed legends.)
- Isopropyl alcohol → Alt: Lens cleaning wipes (Apply only minimal amounts onto cotton swabs to avoid liquid dripping into switch stem cavities.)
✨ Step-by-Step Care Instructions
Step 1: Disconnect Keyboard & Take Reference Layout Photo
- Unplug the USB cable or switch off Bluetooth/wireless battery power before cleaning.
- Take a sharp photo of the keyboard layout using your smartphone for easy reassembly reference.
- Pay special attention to function rows (Fn, Insert, Page Up/Down) and navigation cluster keys.
- Clear a flat table surface and lay down a soft microfiber mat to protect your gear.
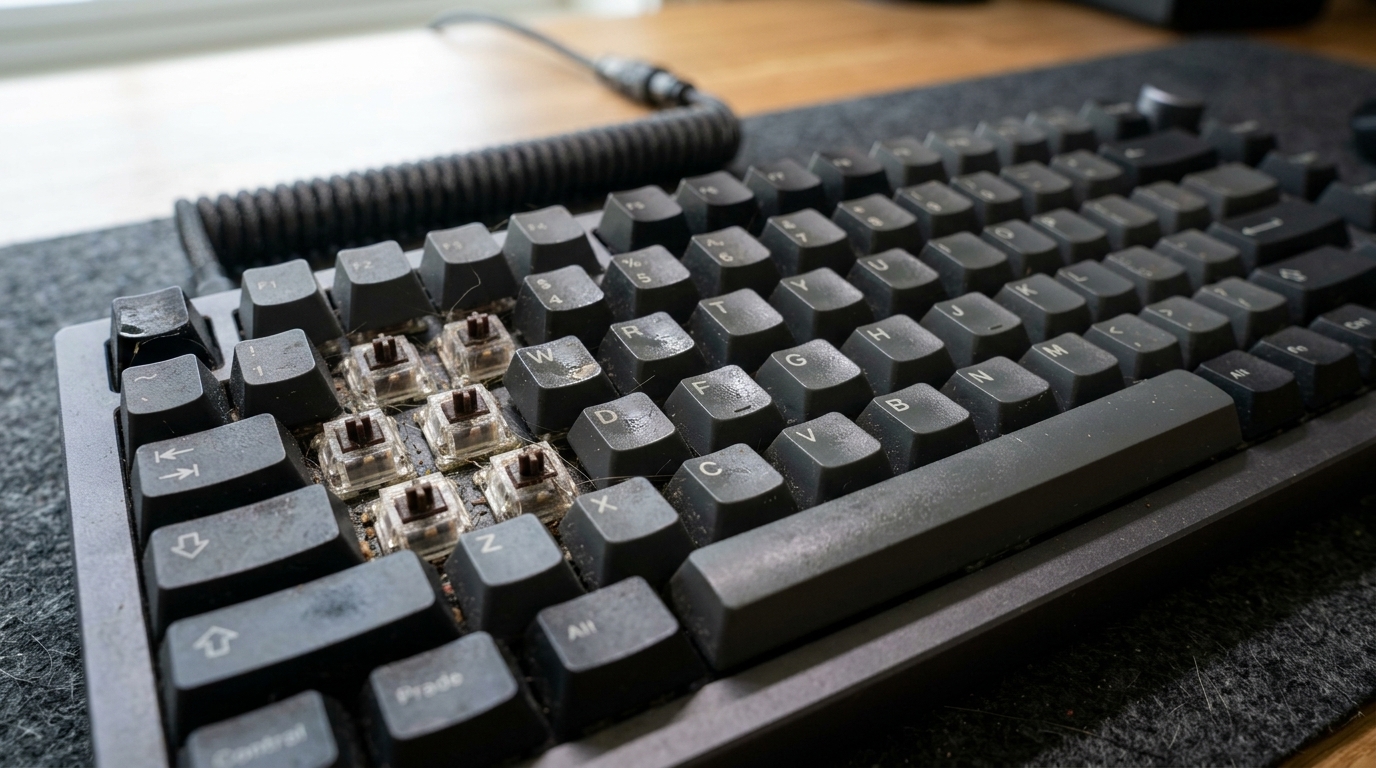
Step 2: [Before] Gently Pull Keycaps with Wire Puller & Handle Stabilizers
- Slip the wire puller underneath opposite diagonal corners of the keycap and pull straight up.
- For large stabilized keys (Spacebar, Enter, Shift), pull gently and evenly to disengage wire clips.
- Never twist or yank aggressively, which can fracture switch stems or loosen hot-swap sockets.
- Gather all detached keycaps into a wide glass soaking bowl to prevent losing any keys.
Step 3: [Process] Soak Keycaps in Soapy Water & Brush Switch Plate
- Fill the bowl with lukewarm water (30~35°C) and mix in 2~3 drops of mild dish soap.
- Submerge all keycaps for 10~15 minutes to break down stubborn finger oils and skin grime.
- Tilt keyboard chassis downward and brush away loose debris between switch housings with an antistatic brush.
- Dab a cotton swab in 70% isopropyl alcohol and carefully clean grime from the switch plate.
- ★Caution: Never spray or pour liquid directly into switch stem openings.
Step 4: Shake Trapped Water from Stems & Air Dry for 24 Hours
- Rinse soaked keycaps thoroughly under cool running water to eliminate all soap residue.
- Firmly tap each keycap stem against a dry towel to expel water trapped inside cross mounts.
- Spread keycaps face down on a clean dry towel in a well-ventilated, shaded room for at least 24 hours.
- ★Caution: Never use hot air from a hair dryer, which easily warps ABS and PBT plastics.
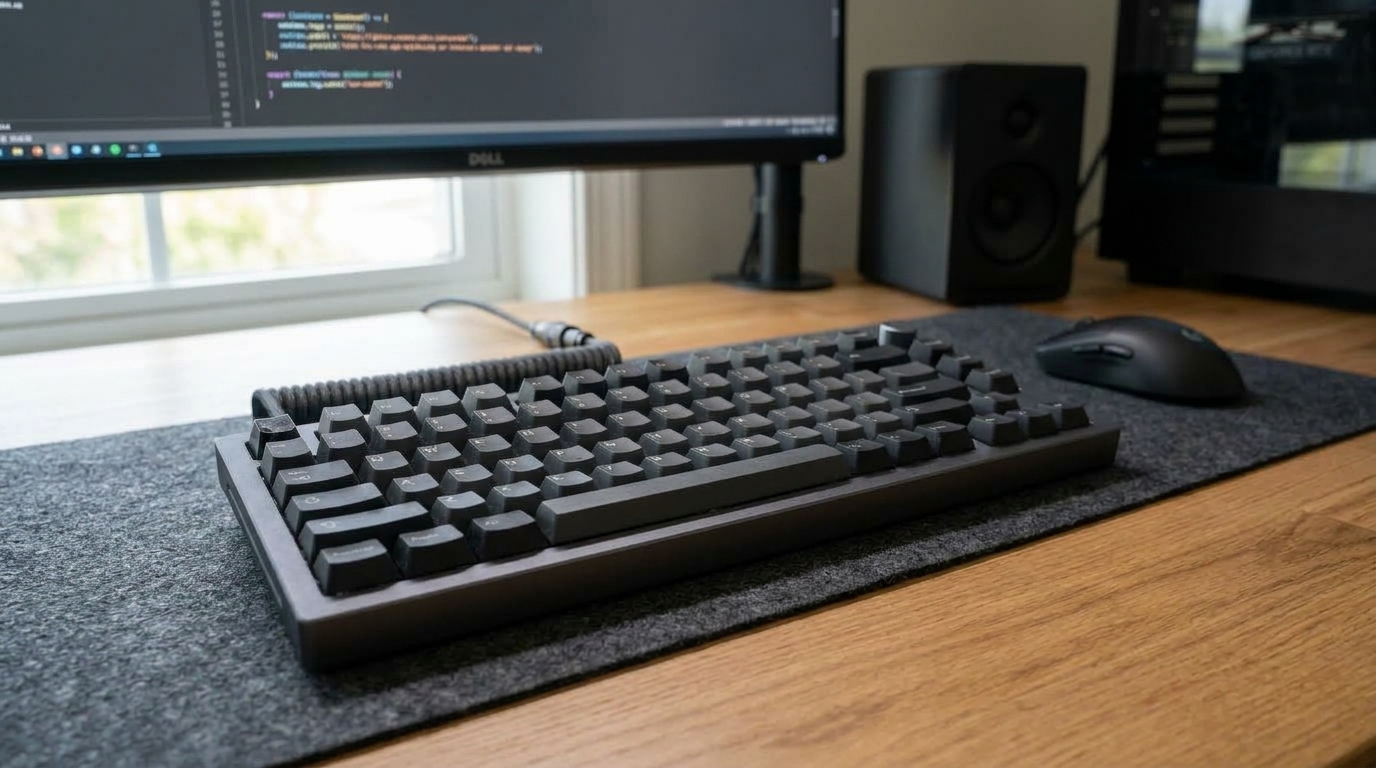
Step 5: [After] Reassemble Keycaps & Test Actuation on Keyboard Tester
- Refer to your initial layout photo to position each keycap over its corresponding switch stem.
- Align stabilizer wire brackets on large keys before pressing down firmly until they click into place.
- Press the center of each standard keycap with your thumb until firmly seated.
- Connect keyboard to PC and verify that every single key registers crisply using an online keyboard tester.
🩺 Self-Diagnosis Guide
✅ Can be restored with care
- Keycap surface developed shiny finger oil grease and fingerprint smudges
- Gaps between switches accumulated hair, skin flakes, and food crumbs
- Key actuations work normally but feel mushy due to accumulated dust around switch housings
- No liquid spills occurred; only dry debris and superficial grease present
❌ Reached end of lifespan (Proper disposal required)
- Liquid spill (coffee, soda) caused PCB short-circuit with multiple keys malfunctioning
- Switch internal metal contact leaf heavily rusted or stem shattered beyond repair
- Wireless keyboard internal lithium-ion battery severely swollen (Dispose of safely at recycling bin)
- Hot-swap socket copper pads ripped off from the printed circuit board
⚠️ Important Safety Precautions
- NEVER place keyboard chassis into a dishwasher or ultrasonic cleaner (destroys PCB circuit instantly).
- NEVER use acetone, lacquer thinner, or bleach (dissolves plastic and strips printed key legends).
- NEVER speed up drying with hot hair dryers (thermal contraction permanently warps stem mounts).
- NEVER twist large stabilizer keys sideways (breaks wire housing clips and stabilizer stems).
- NEVER reassemble damp keycaps; trapped moisture drips into switch sockets causing corrosion.
💡 Mechanical Keyboard Replacement Guide: 3 Key Technical Specs Before Buying
♻️ Reached end of lifespan?
Check local disposal regulations instead of forcing reuse.
❓ Frequently Asked Questions (FAQ)
Q. Can deep cleaning completely eliminate keycap shine?
A. If keycap shine is caused by physical abrasion where the top plastic layer has worn smooth (common on standard ABS keycaps), cleaning cannot re-texture the worn plastic. However, cleaning completely removes greasy finger oils, restoring a clean, non-sticky matte feel. For permanent shine resistance, consider upgrading to double-shot PBT keycaps.
Q. Is it safe to use cleaning putty (keyboard slime)?
A. While cleaning slime is convenient for quick surface dust, in warm weather or with aging slime, sticky residue can seep deep between switch housings and harden, causing sticky keys or switch contact failures. An antistatic brush and manual rubber air blower are much safer long-term tools.
Q. Can I spray rubbing alcohol directly into mechanical switches?
A. No. Spraying alcohol into switches flushes away delicate factory lubrication (grease/oil), resulting in scratchy key travel and pinging spring noise. It can also oxidize internal copper leaf contacts. Only use a lightly dampened cotton swab to clean the exterior switch housing and metal plate.