How to Sharpen a Dull Kitchen Knife | 15-Degree Whetstone Technique & Razor Edge Restoration
Step-by-step master guide for sharpening dull kitchen chef knives using a #1000/#3000 dual-grit whetstone at a consistent 15-degree angle to deburr and hone razor-sharp cutting edges, complete with ceramic mug emergency sharpening hacks and rust-free maintenance.
🛠️ Required Tools & Cleaning Agents
🔄 Alternative Detergents & Eco Tips
- Dual Grit Whetstone → Alt: Unglazed Ceramic Mug Bottom Ring or Earthenware Pot Base (The raw, unglazed circular ridge on the bottom of ceramic mugs has a hardness similar to a 1000-grit stone for quick emergency edge revival.)
- Finishing Fine Stone (#3000) → Alt: Leather Strop (Inner side of leather belt) or Newspaper (Graphite ink in newsprint and dense leather fibers gently align microscopic metal burrs for an ultra-smooth razor finish.)
- Silicone Stone Holder → Alt: Folded Wet Kitchen Towel (Placing a damp, folded towel beneath your whetstone provides solid surface friction and eliminates slipping during vigorous strokes.)
✨ Step-by-Step Care Instructions
Step 1: Soak Whetstone for 10 Mins & Non-Slip Base Setup
- Submerge the dual-grit whetstone in a container of water for 10–15 minutes until all escaping air bubbles cease completely.
- Spread a damp kitchen towel flat on the countertop and place the stone holder on top to eliminate slippage during sharpening strokes.
- Position the coarse/medium side (#1000 grit) facing up and splash a few drops of water onto the surface.
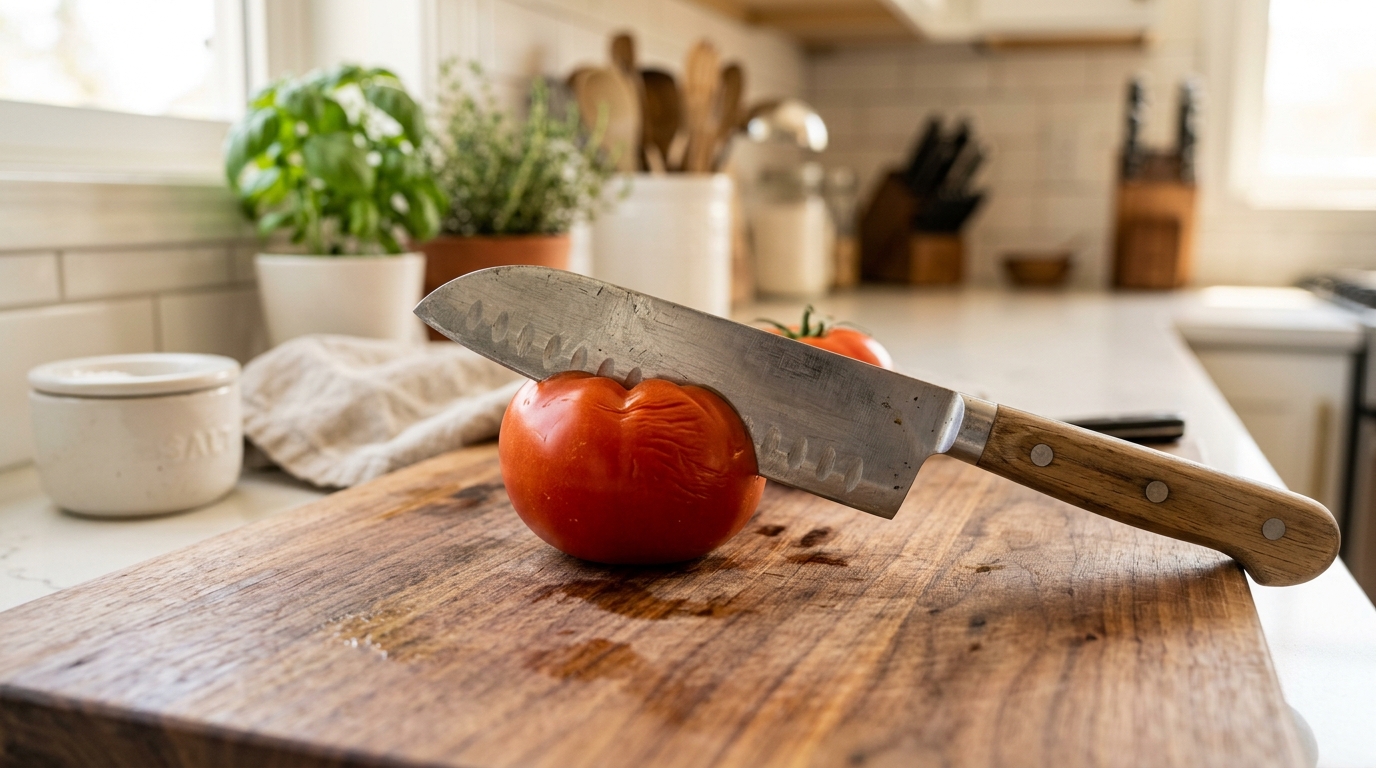
Step 2: [Before Inspection] Inspect Dull Blade Rounding & Light Reflection
- Hold the knife edge up under bright light to spot shiny white reflections indicating worn, flattened apex zones.
- Gently test blade traction against your thumbnail at a 45-degree angle; slipping indicates a blunted edge requiring apex reshaping.
- Divide the knife blade mentally into three sections (heel, belly, tip) for systematic sharpening.
Step 3: [Process Precision Honing] Maintain 15° Angle & #1000 Medium Grit Stroking to Form Burr
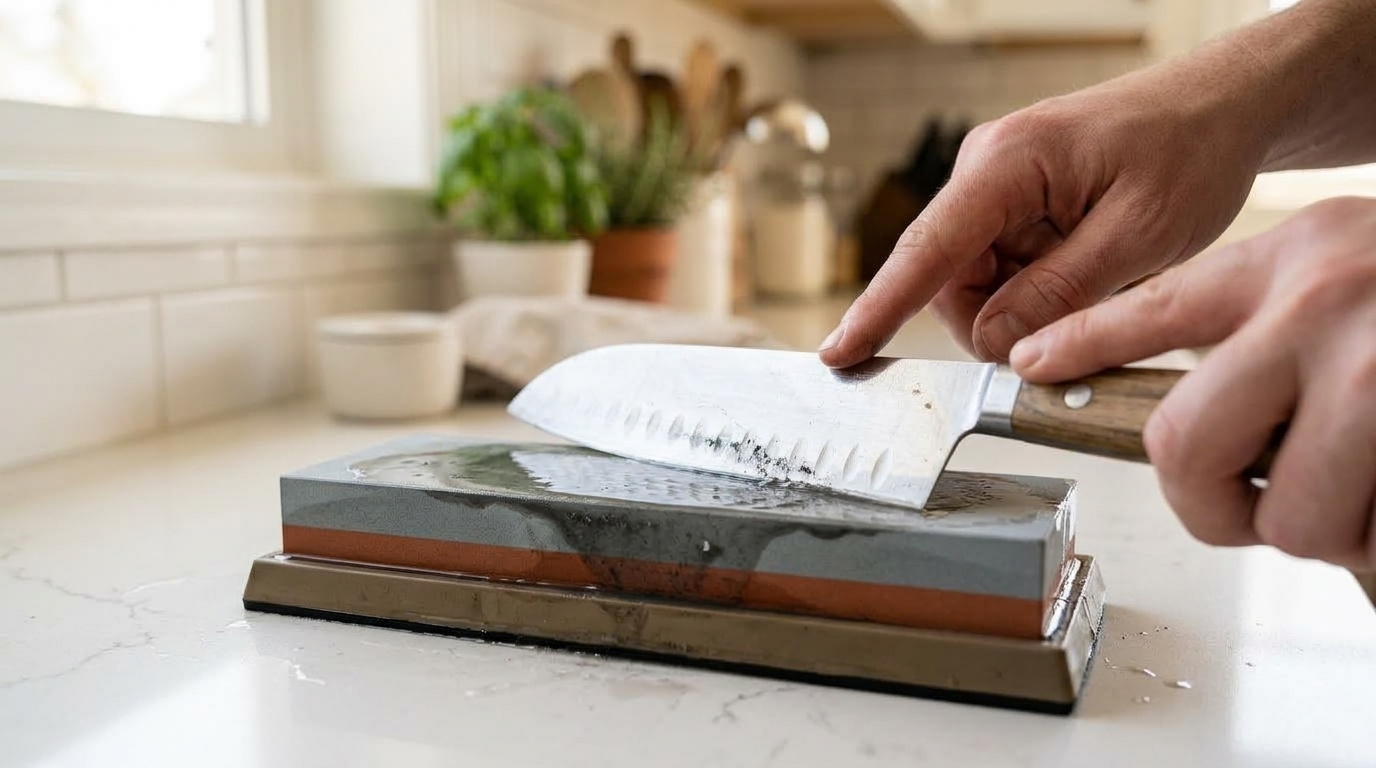
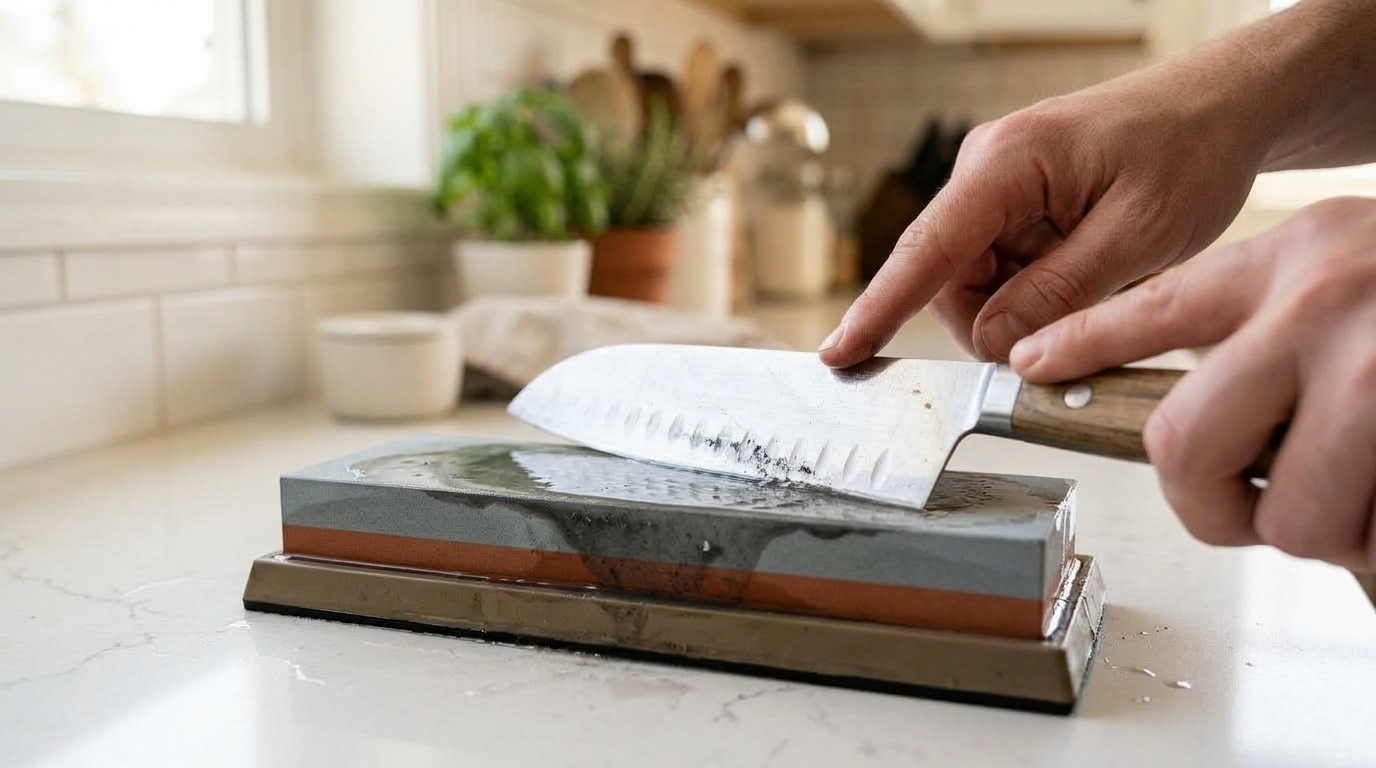
- Grip the handle firmly with your dominant hand and set the blade angle at roughly 15 degrees (height of two stacked coins between spine and stone).
- Place 2–3 fingers of your other hand near the cutting edge; apply gentle pressure on forward push strokes and release pressure on pull strokes.
- Work across heel, belly, and tip in 15–20 consistent diagonal passes; never rinse off the gray abrasive slurry paste that builds up.
- Carefully drag your fingertips perpendicularly off the opposite edge to feel for the 'burr'—a continuous micro-lip of metal wire confirming edge geometry.
- Flip the blade and repeat identical passes at 15 degrees on the reverse face to achieve symmetric double-bevel sharpness.
Step 4: #3000 Fine Grit Polish & Complete Burr Deburring
- Flip the whetstone over to the fine #3000 grit side and splash with fresh water.
- Execute 5–10 feather-light passes per side to polish the scratch pattern and knock off the residual micro-burr wire.
- Perform finishing strops against a leather belt or rolled newspaper to achieve a microscopic razor-honed finish.
- Rinse off all abrasive metal slurry with warm water and sponge, then wipe completely dry with a clean cloth.
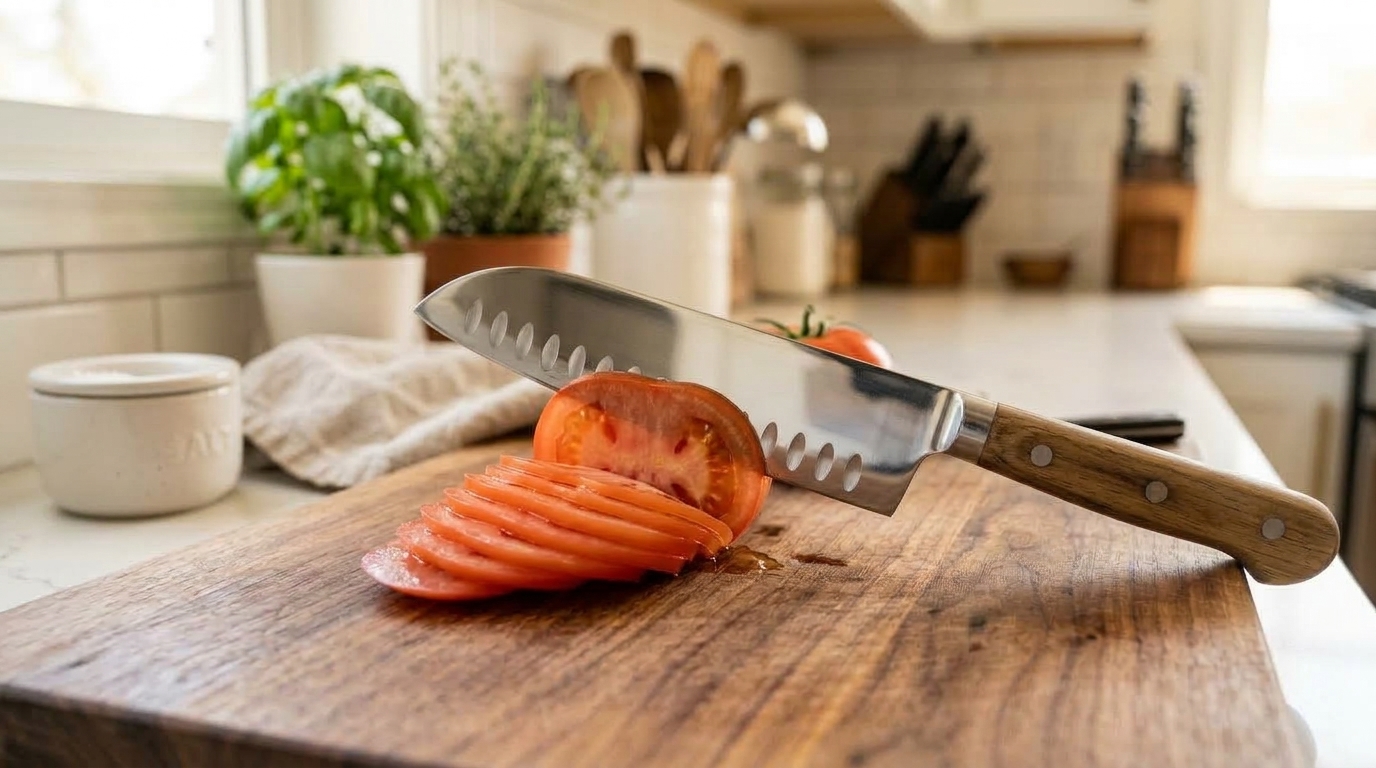
Step 5: [After Inspection] Test 100% Razor Sharpness on Paper & Ripe Tomato
- Rest the blade on a ripe tomato without downward force; push forward smoothly to verify effortless slicing through the delicate skin.
- Perform the classic hanging newspaper slice test; the blade should glide down effortlessly in a clean, silent line without snagging.
- Store in a breathable wooden block, magnetic knife strip, or sheath away from abrasive contact.
🩺 Self-Diagnosis Guide
✅ Can be restored with care
- Blade skids across tomato skin or crushes soft fruits unless heavy downward force is applied (100% restorable with 15° whetstone honing)
- Minor edge dulling or microscopic roll under 0.5mm without structural notches (restorable with #1000 medium grit)
- Faint surface oxidation spots or light tea stains on stainless steel blade faces (removable with sharpening slurry and baking soda)
❌ Reached end of lifespan (Proper disposal required)
- Severe chips or blade gouges exceeding 3mm deep along the cutting edge (unrepairable at home; requires professional regrinding or safe recycling)
- Cracked wooden handle or loose rivets causing the full-tang blade to wobble (high laceration hazard; replace immediately)
- Severe structural blade warpage along the spine preventing straight cutting
⚠️ Important Safety Precautions
- Never position guide fingers beneath the cutting edge; keep fingers firmly planted on the flat blade face to prevent severe cuts if slipping.
- Avoid steep sharpening angles over 30° (creates blunt chisel edge) or under 10° (scratches blade face and creates fragile micro-edges).
- Never twist or torque the blade sideways when cutting dense squash or frozen food; lateral stress chips brittle high-carbon steel.
💡 Kitchen Knife Replacement Guide: 3 Key Technical Specs Before Buying
♻️ Reached end of lifespan?
Check local disposal regulations instead of forcing reuse.
❓ Frequently Asked Questions (FAQ)
Q. What whetstone grit combination is best for home kitchen knives?
A. A #1000/#3000 dual-sided combination waterstone is the gold standard for home cooks. The #1000 medium grit restores a crisp cutting bevel on dull blades, while the #3000 fine grit refines the scratch pattern into a razor-sharp polished apex. Coarser stones (#400) are only needed for repairing severe chips.
Q. Should I wash away the dark muddy slurry that builds up on the whetstone?
A. No, NEVER wash away the slurry during sharpening. That gray mud is a blend of suspended abrasive grit particles and microscopic steel filings that acts as a natural polishing paste. It speeds up sharpening and refines the finish. If the stone feels dry, simply mist it with a few drops of water.
Q. How do whetstones compare to pull-through V-groove sharpeners and honing steels?
A. Pull-through carbide sharpeners aggressively rip away metal and create jagged, fragile serrations that ruin high-end blades over time. Whetstones maintain precise blade geometry and extend knife lifespan for decades. Honing steels do not remove metal—they merely realign a rolled edge—making them ideal for daily maintenance between monthly whetstone sessions.
Q. How do I safely dispose of a broken, unrepairable kitchen knife?
A. Even though kitchen knives are made of steel, NEVER place exposed blades in curbside scrap metal bins due to severe laceration risks for sanitation workers. Wrap the blade securely in 5 layers of thick cardboard or insert into a cardboard milk carton, seal completely with heavy packing tape, label 'CAUTION: SHARP BLADE', and dispose in municipal general waste bags.