Pop-Up Toaster Crumb Tray Deodorizing & Interior Heating Wire Cleaning Guide | Eliminate Burnt Smells & Prevent Fire Risks
Complete deep cleaning guide for De'Longhi, Philips, and Balmuda pop-up toasters: washing the bottom slide-out crumb tray, safely brushing burnt crumbs off heating elements, coarse salt deodorizing, and polishing stainless steel exteriors.
🛠️ Required Tools & Cleaning Agents
🔄 Alternative Detergents & Eco Tips
- Pastry Brush → Alt: New Flat Art Paintbrush or Soft Toothbrush (Soft bristles dislodge trapped crumbs without scratching fragile heating wire loops)
- Diluted Vinegar → Alt: 70% Rubbing Alcohol (Eliminates greasy fingerprints and polishes stainless steel streak-free)
- Wooden Skewer → Alt: Silicone Spatula Edge (Safely dislodges burnt crumbs without risking metal scratching or electrical shorting)
✨ Step-by-Step Care Instructions
Step 1: Unplug Power Cord & Allow Complete Cooling
- Disconnect the electrical plug completely from the wall outlet to eliminate shock and fire hazards.
- If used recently, wait at least 20 to 30 minutes until internal heating wires and chassis cool to room temperature.
- Spread newspaper, a silicone mat, or a tray over the countertop to catch falling crumb debris.
Step 2: Slide Out Bottom Crumb Tray & Inspect Residue
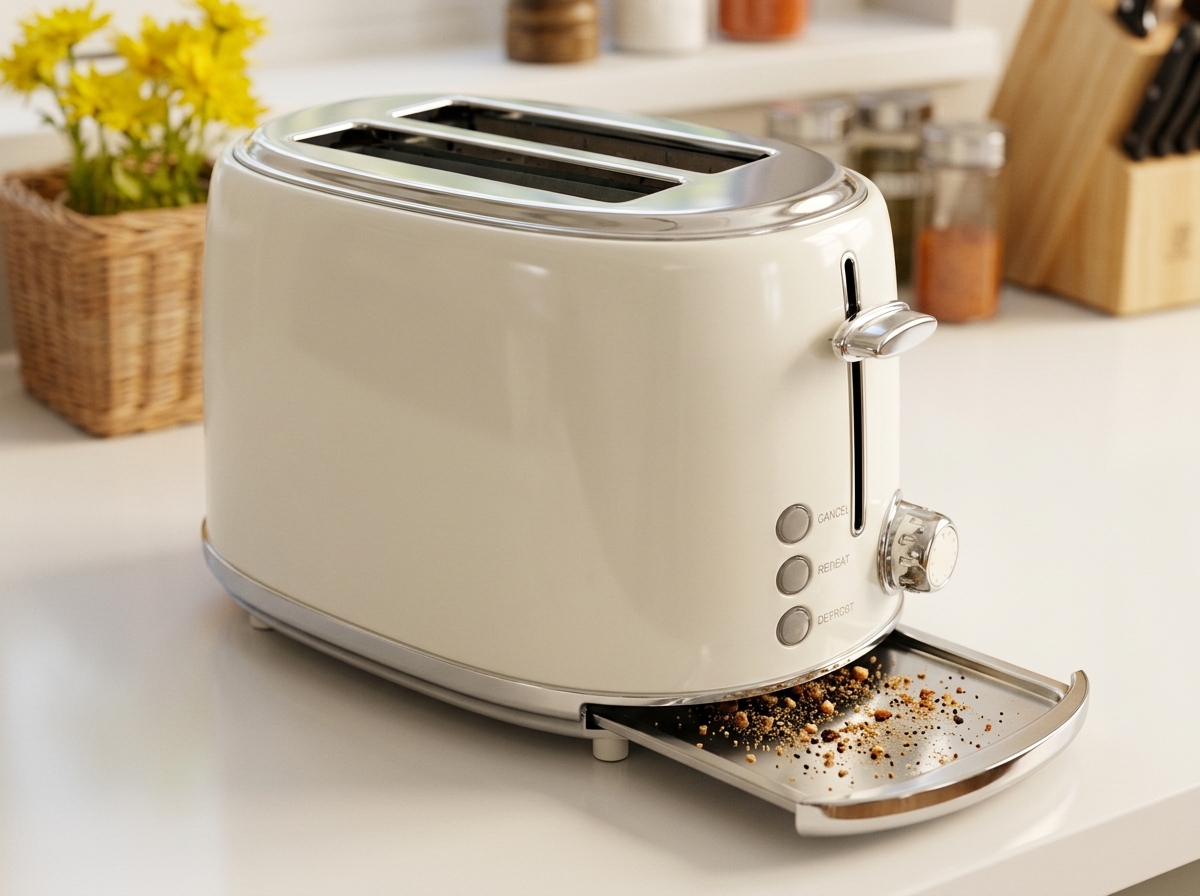
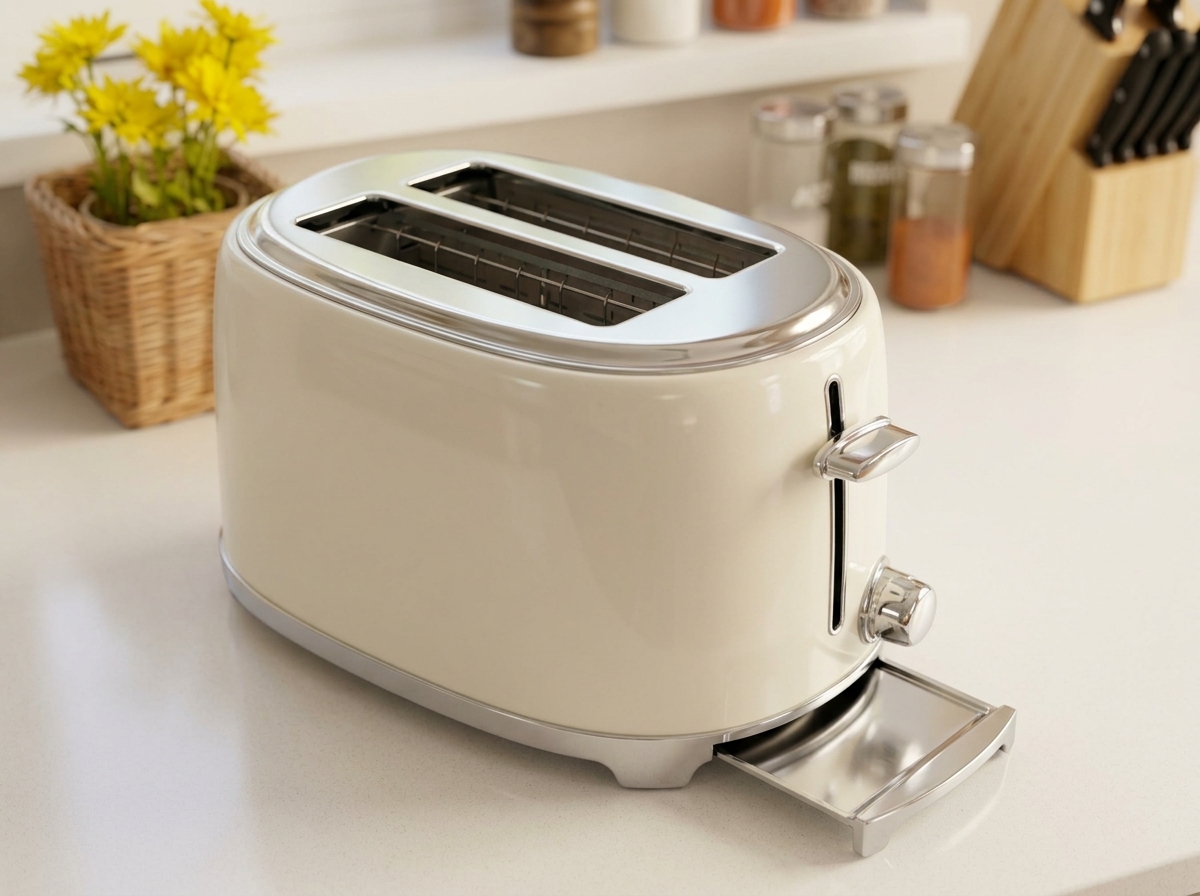
- Pull the handle located at the bottom rear or side of the toaster to slide out the crumb tray completely.
- Dump loose crumbs and burnt particles directly into the trash bin.
- Inspect baked-on cheese, sugar, or butter grease adhering to the metal tray surface.
Step 3: Brush Heating Elements & Invert Body to Expel Debris
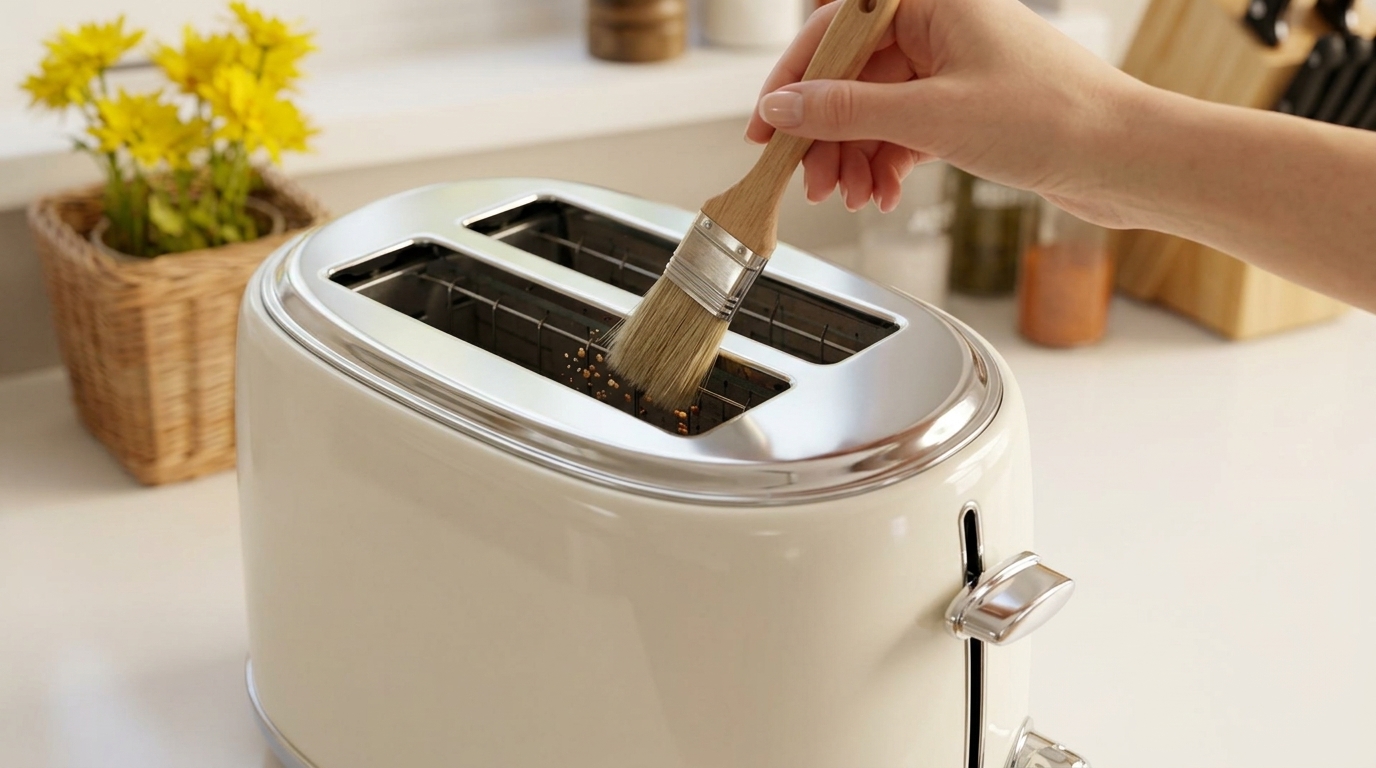
- Insert a soft pastry brush or soft toothbrush into the slots and gently sweep from top to bottom along the heating wire grids.
- Use a wooden skewer to gently dislodge stubborn burnt chunks stuck in bottom crevices (never use metal forks or knives).
- Hold the toaster upside down over the trash can and gently shake it to dislodge remaining trapped particles.
- Optionally use a hairdryer on the COOL setting to blow out micro-crumbs from deep interior corners.
Step 4: Wash Metal Crumb Tray & Ensure 100% Complete Dryness
- Wash the metal crumb tray in warm soapy water using a non-abrasive sponge to lift grease and scorched spots.
- For baked-on grease, sprinkle baking soda over the tray, let sit for 5 minutes, then wipe clean.
- Thoroughly dry the tray with a clean microfiber towel to prevent rust and electrical short circuits before reinsertion.
Step 5: Polish Stainless Exterior & Reassemble Crumb Tray
- Dampen a microfiber cloth with diluted vinegar or rubbing alcohol and wipe down the stainless steel exterior along the grain.
- Slide the completely bone-dry crumb tray back into the bottom rail until it clicks securely into place.
- Plug the unit in and run one empty cycle on the lowest setting (Setting 1) to burn off any lingering dust and verify odorless performance.
🩺 Self-Diagnosis Guide
✅ Can be restored with care
- Sour, burnt odor and light smoke drifting out every time bread is toasted
- Thick layer of blackened breadcrumbs, dried butter grease, or cheese residue trapped on crumb tray
- Burnt crumb crust clinging to interior heating wire grids causing uneven toasting
- Greasy fingerprint smudges and cooking oil splatter dulling the stainless exterior
❌ Reached end of lifespan (Proper disposal required)
- Carriage lever fails to lock down, popping back up immediately due to broken mechanical electromagnet latch
- Heating element wires severed or sparking dangerously with only one side glowing red
- Internal electrical short circuit causing household breaker trips or burnt wiring smell
- Melted or severely warped exterior casing past safe operating lifespan
⚠️ Important Safety Precautions
- Never insert metal forks, knives, or chopsticks into slots while plugged in; touching live heating wires causes fatal electric shock.
- Never reinstall a damp crumb tray; trapped moisture causes electrical shorts and heating coil corrosion.
- Never submerge the toaster in water or wash the main unit in a dishwasher.
- Never operate toasters directly beneath low overhead cabinets or near curtains due to intense upward heat convection.
💡 Cost Efficiency & Professional Inspection Guide
💡 Pop-Up Toaster Replacement Guide: 3 Key Technical Specs Before Buying
♻️ Reached end of lifespan?
Check local disposal regulations instead of forcing reuse.
❓ Frequently Asked Questions (FAQ)
Q. Why does my toaster smoke and smell burnt every time I toast bread?
A. This is caused by old breadcrumbs accumulated on the bottom tray repeatedly reheating to high temperatures and charring into charcoal. Pull out the bottom crumb tray, dump the residue, and invert the toaster over a bin to shake out trapped particles from internal heating wires to restore odor-free toasting.
Q. How do I safely remove a piece of toast stuck inside the toaster slot?
A. Always unplug the power cord from the wall outlet first. Wait until the unit is completely cool, then gently dislodge the stuck bread using wooden chopsticks or silicone tongs. Never insert metal forks or knives, which can sever heating wires or cause severe electrical shock.
Q. Can I wipe the inside of my pop-up toaster with wet wipes or a damp cloth?
A. Never. The interior heating wires and insulation panels carry electrical current directly. Moisture causes corrosion and short circuits. Only use dry pastry brushes or soft toothbrushes to sweep away crumbs; wet washing is strictly limited to the detached metal crumb tray.
Q. How should I dispose of a broken, unrepairable electric toaster?
A. Electric toasters qualify as small household e-waste. You can drop them off for free at local community e-waste collection bins or schedule a free municipal e-waste pickup service without purchasing bulky waste stickers.