Mini Toaster Oven Wire Rack Grease Removal & Glass Door Deep Cleaning Guide | Eliminate Baked-On Residues & Cloudiness
Complete deep cleaning guide for Balmuda, De'Longhi, and Cuisinart mini toaster ovens: soaking wire racks and baking trays in baking soda, dissolving brown glass door grease with vinegar steam, and safely maintaining quartz heating elements.
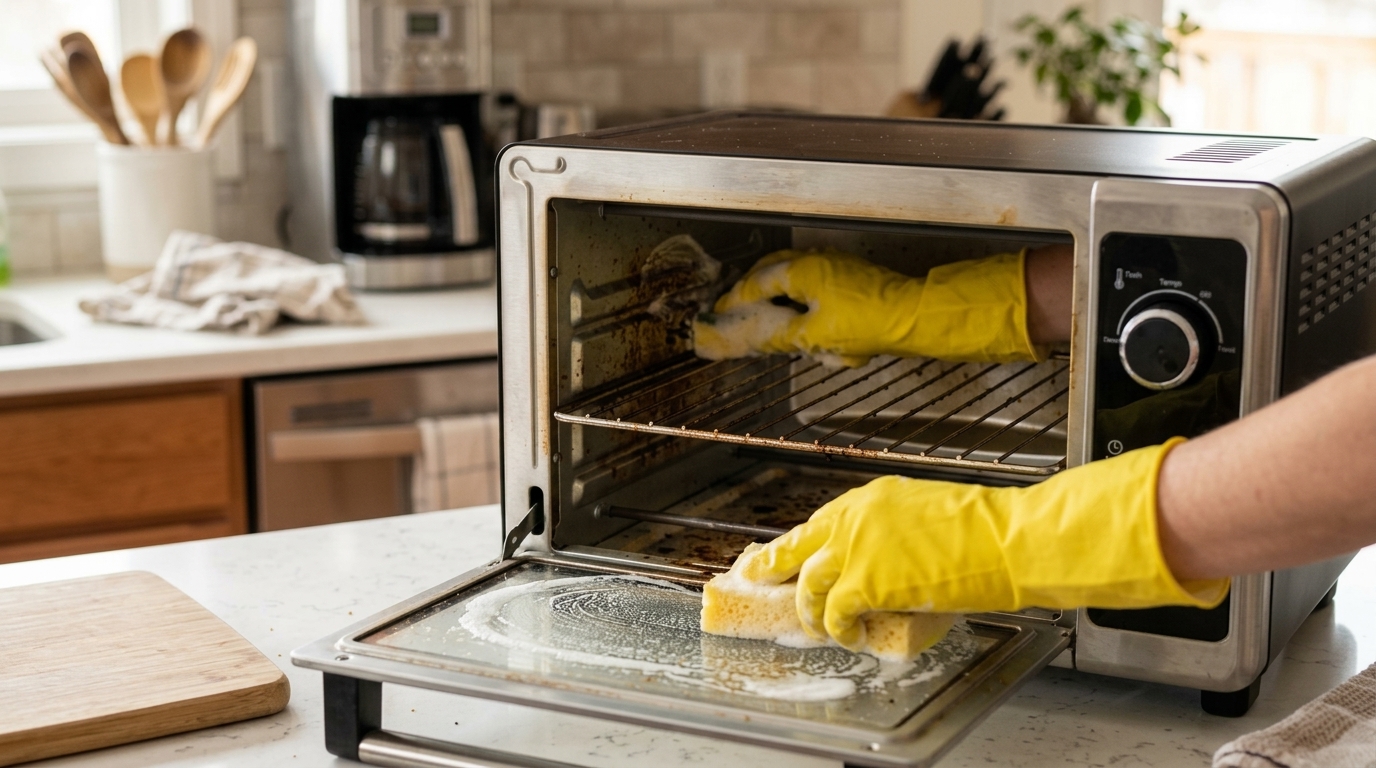
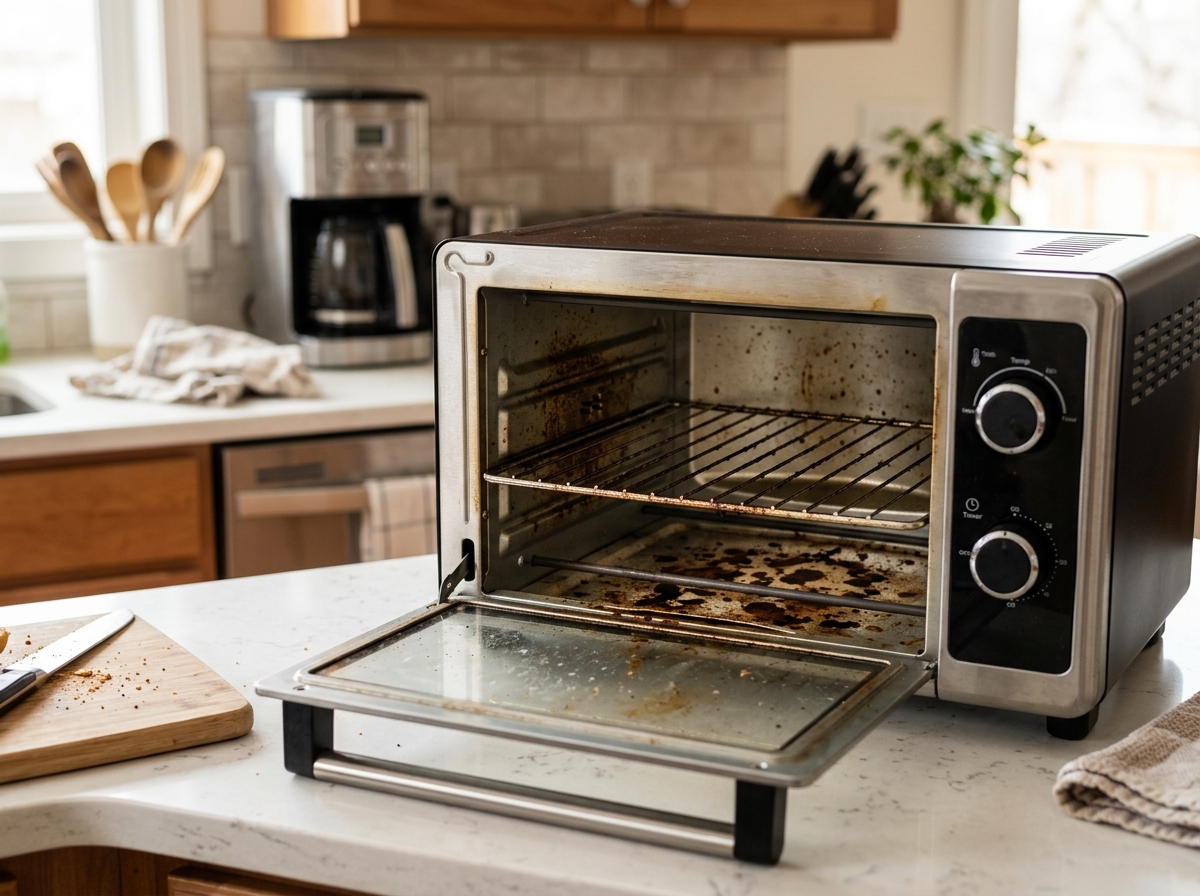
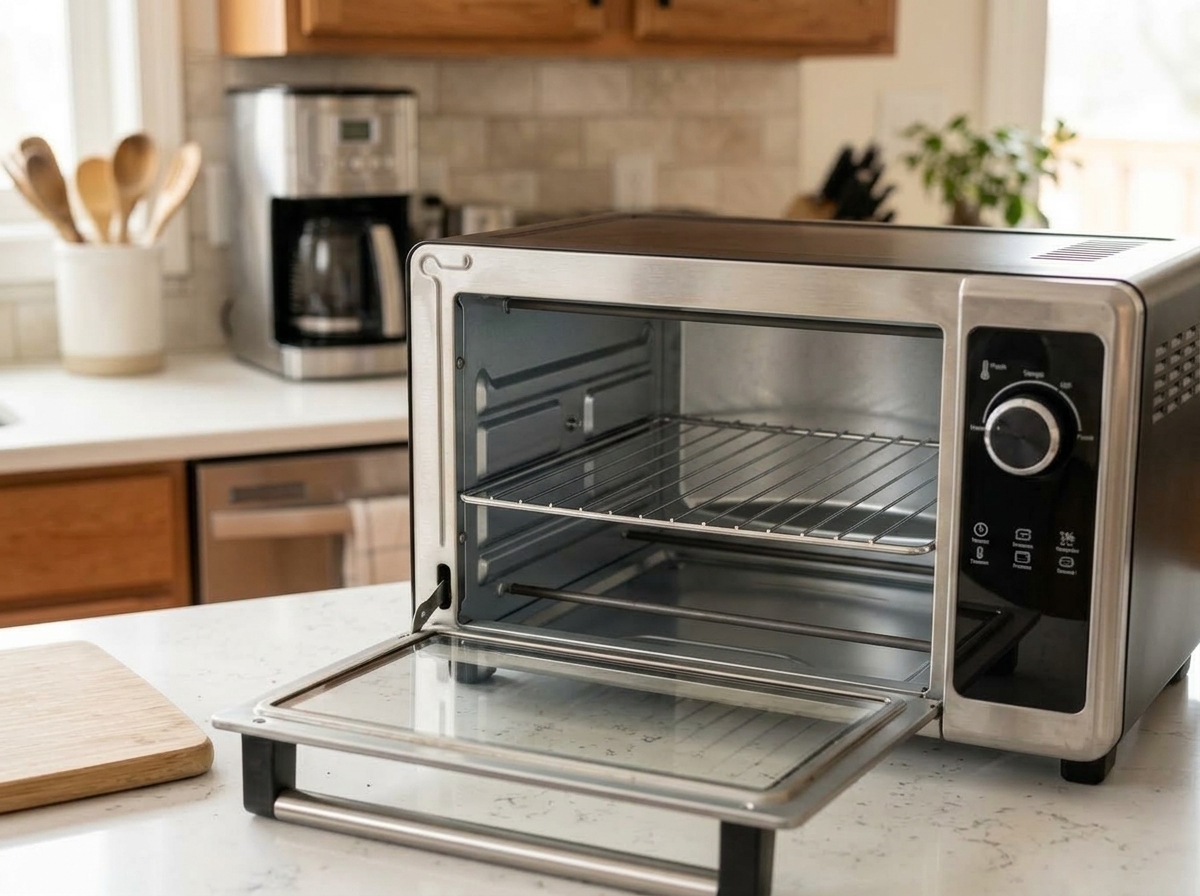
🛠️ Required Tools & Cleaning Agents
🔄 Alternative Detergents & Eco Tips
- Baking Soda Paste → Alt: Sodium Percarbonate Soak (Stainless Racks Only) (Avoid using on aluminum chasses; soak detachable stainless racks in hot water to melt tough grease)
- Vinegar Steam → Alt: Water with Fresh Lemon Slices (Deodorizes fish and meat cooking grease with a fresh citrus aroma instead of pungent vinegar vapors)
- Sponge → Alt: Crumpled Ball of Aluminum Foil (Safely scrubs baked-on cheese and grease from wire grates without scratching protective plating)
✨ Step-by-Step Care Instructions
Step 1: Disconnect Power & Detach Wire Racks and Baking Trays
- Unplug the power cord completely from the wall outlet to eliminate shock and burn hazards.
- Allow the oven interior to cool completely, then open the front door and slide out the wire rack, baking tray, and bottom crumb plate.
- Inspect top and bottom quartz glass heating tubes for physical cracks or damage.
Step 2: Run Vinegar Steam Softening Cycle in Heat-Safe Bowl
- Fill an oven-safe glass or ceramic bowl with 150ml water and 2 tbsp white vinegar (or 1 tsp citric acid).
- Plug the unit in, place the bowl on the center rack, and run at 150-180°C (300-350°F) for 10 minutes to generate dense sanitizing steam.
- Turn off power and keep the door closed for 5 minutes to let hot steam loosen hardened grease on walls and glass.
Step 3: Scrub Glass Door & Interior Walls with Baking Soda Foam
- Mix equal parts baking soda and mild dish soap into a thick cleaning paste and apply to a soft sponge.
- Gently scrub the steamed inner glass pane and metal interior walls in circular motions to lift baked oils.
- Never apply wet chemicals directly to quartz heating tubes; wipe tube surfaces gently with a tightly wrung damp microfiber cloth only.
- For stubborn brown baked-on stains, apply the baking soda paste to the glass, cover with plastic wrap for 15 minutes, then wipe clean.
Step 4: Soak & Hand-Wash Detached Wire Rack and Baking Tray
- Fill a sink basin with 50°C warm water, dissolve 2 tbsp baking soda and dish soap, and submerge racks for 15 minutes.
- Scrub wire grates with a detail brush or a crumpled ball of aluminum foil to strip baked cheese and carbonized residue without scratching.
- Rinse thoroughly under running water and wipe completely bone-dry with a clean towel.
Step 5: Rinse-Wipe Interior Residue & Air-Dry Before Reassembly
- Wipe down all interior surfaces and the glass door 2-3 times with a damp microfiber cloth to remove all soap residue.
- Leave the door open for 20-30 minutes to ensure complete air-drying and moisture evaporation.
- Slide the dry crumb tray and wire rack back onto interior guide rails.
- Plug the unit in and run an empty 5-minute cycle at 160°C (320°F) to burn off lingering moisture, restoring an odor-free cooking chamber.
🩺 Self-Diagnosis Guide
✅ Can be restored with care
- Baked-on cheese, melted butter fat, and marinade crust hardened on the wire rack and baking pan
- Front door viewing window cloudy with yellow-brown grease film obstructing interior view
- Oven releases greasy smoke and stale food odors when heated
- Brown splattered grease spots baked onto interior side walls
❌ Reached end of lifespan (Proper disposal required)
- Quartz glass heating tube cracked or broken, exposing live electrical filament wires (fire & shock hazard)
- Tempered door glass shattered or door hinge snapped, preventing proper closure
- Thermostat failure causing runaway thermal overheating or total electrical dead state
- Internal wiring insulation melted, repeatedly tripping circuit breakers
⚠️ Important Safety Precautions
- Never wipe hot oven door glass with cold water or a wet cloth; extreme thermal shock can cause tempered glass to explode violently.
- Never scrub quartz glass heating elements with abrasive metal pads or submerge them in water (causes glass tube rupture and electrocution).
- Never grill dripping meats or cheese directly on wire racks without a bottom drip pan; direct fat contact on red-hot coils causes grease fires.
- Never submerge the main toaster oven chassis in water or place it inside a dishwasher.
💡 Cost Efficiency & Professional Inspection Guide
💡 Mini Toaster Oven Replacement Guide: 3 Key Technical Specs Before Buying
♻️ Reached end of lifespan?
Check local disposal regulations instead of forcing reuse.
❓ Frequently Asked Questions (FAQ)
Q. How do I remove stubborn, baked-on brown grease from the toaster oven glass door?
A. Mix baking soda and dish soap into a thick spreadable paste. Apply generously to the inner glass door, cover with plastic wrap or damp paper towels, and let it sit for 15-20 minutes. Once softened, gently wipe away with a non-abrasive sponge or a crumpled foil ball to leave the glass crystal-clear without scratching.
Q. Why is my steam toaster oven (e.g. Balmuda) failing to generate steam with water remaining in the channel?
A. Mineral limescale from tap water has clogged the boiler injection nozzle. Dissolve 1 teaspoon of food-grade citric acid into 5cc of warm water, pour into the water inlet, and run at 170°C for 3 minutes. Follow with 2-3 empty steam runs using 5cc of fresh water to flush away dissolved minerals.
Q. Why does my mini toaster oven produce smoke and burnt odors during operation?
A. This happens when accumulated breadcrumbs on the bottom tray or grease splatters on the lower heating coils reheat and burn. Let the unit cool, empty the crumb tray, and gently wipe grease spots off the heating elements with a damp cloth to restore smoke-free baking.
Q. How should I properly dispose of a broken, non-working mini toaster oven?
A. Mini toaster ovens are categorized as small household e-waste. You can drop them off for free at local municipal e-waste bins or bundle them with other small electronics for free government home pickup without purchasing bulky waste stickers.