Refrigerator Door Gasket Mold Removal & Interior Shelf Deodorizing Deep Clean Guide | Restore Airtight Seal & Eliminate Odors
Complete deep cleaning guide for Samsung, LG, and French-door refrigerators: eradicating black mold from rubber gasket folds, deodorizing with baking soda and vinegar, restoring airtight door seals, and sanitizing interior glass shelves.
🛠️ Required Tools & Cleaning Agents
🔄 Alternative Detergents & Eco Tips
- Vinegar Solution → Alt: 70% Isopropyl Rubbing Alcohol (Evaporates quickly without sour odor while thoroughly killing mold spores)
- Cotton Swabs → Alt: Chopstick Wrapped in Microfiber Wipe (Safely reaches deep inside gasket accordion grooves without puncturing silicone)
- Petroleum Jelly → Alt: Drop of Food-Grade Mineral Oil (Light coating softens stiffened rubber and restores magnetic airtight door suction)
✨ Step-by-Step Care Instructions
Step 1: Temporarily Organize Items & Manage Temperature
- Transfer perishable meats and dairy products into a temporary cooler bag to minimize cold air loss during cleaning.
- Carefully slide out detachable glass shelves and vegetable crisper drawers; allow them to adjust to room temperature for 5-10 minutes to prevent thermal glass shock.
- Prep tools and microfiber cloths before starting door gasket work.
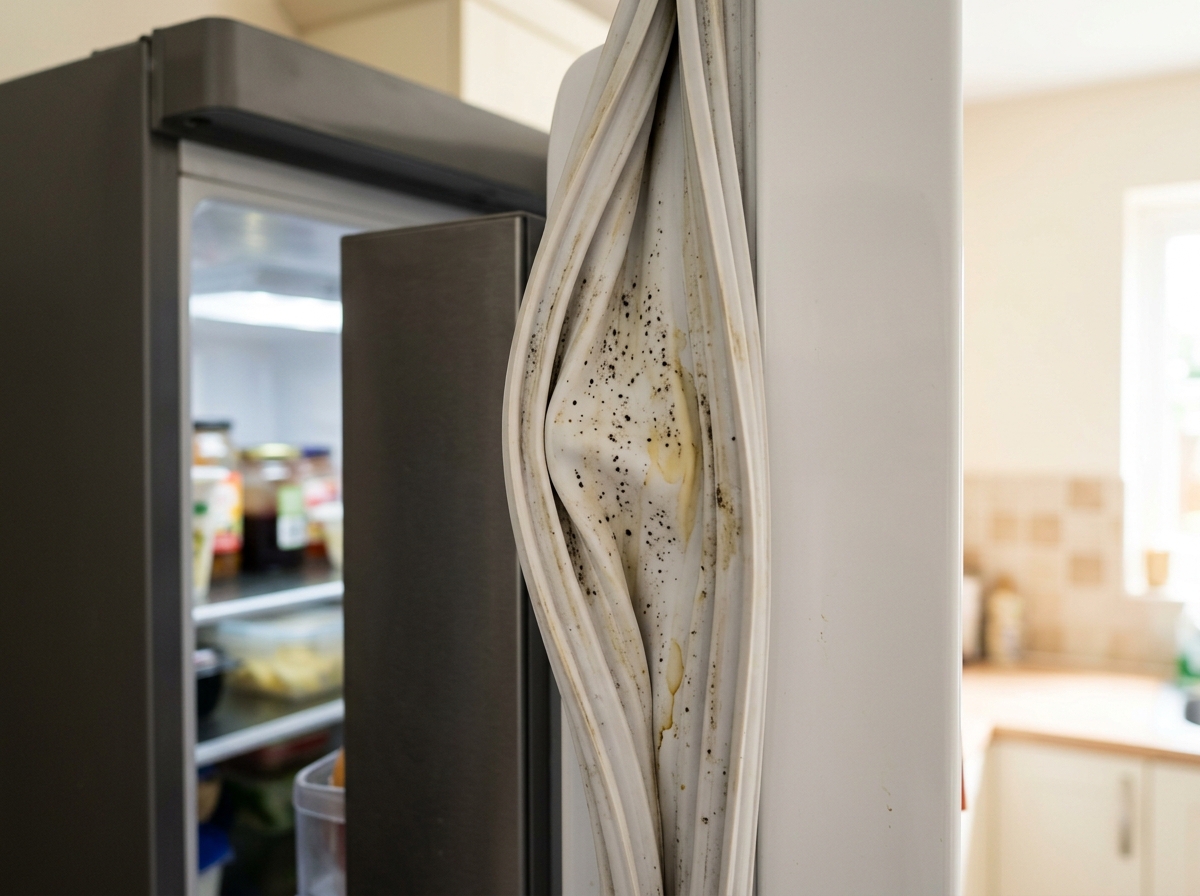
Step 2: Inspect Gasket Folds for Black Mold & Food Residues
- Gently pry open the flexible accordion folds of the silicone gasket with fingers to inspect mold and trapped debris.
- Check the entire magnetic seal perimeter for physical cracks, tears, or hardening.
- Pinpoint dirt buildup around bottom door corners and high-traffic handle zones.
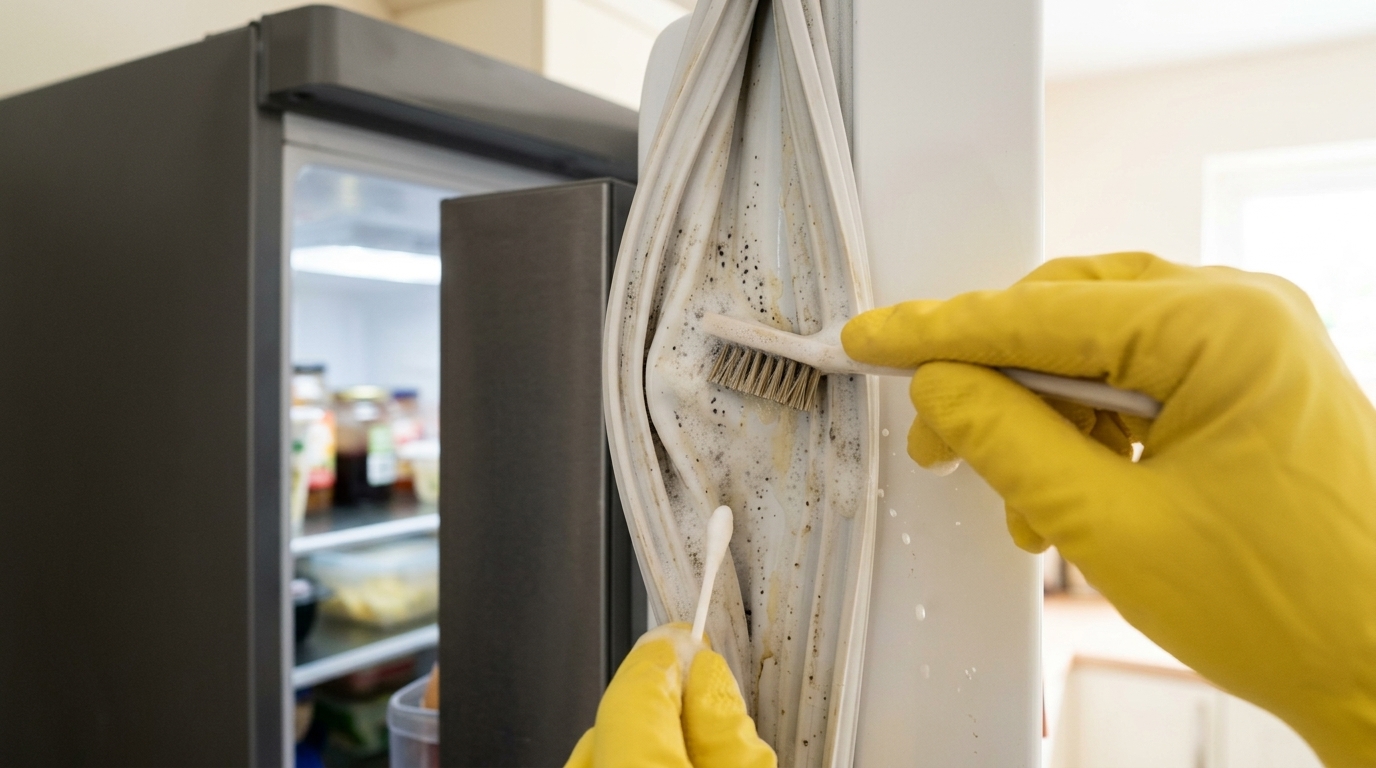
Step 3: Scrub with Baking Soda & Vinegar Foam Using Brush & Swabs
- Mix 200ml warm water, 1 tbsp baking soda, and 1 tbsp white vinegar in a spray bowl (or use 70% rubbing alcohol).
- Dip a soft-bristle toothbrush into the foaming mixture and gently brush along the gasket grooves to lift black mold.
- Use cotton swabs or a chopstick wrapped in a microfiber cloth to swipe away trapped grime in tight corners.
- Never use undiluted chlorine bleach or abrasive metal scouring pads, which degrade silicone and cause permanent cracking.
Step 4: Wash Detached Shelves & Sanitize Interior Walls
- Wash the room-temperature glass shelves and crisper bins in warm soapy water, then wipe completely dry.
- Spray diluted alcohol or baking soda solution onto interior side walls, door bins, and floor gutters, wiping with microfiber towels.
- Gently brush cold-air vent grilles on back walls to ensure unobstructed airflow.
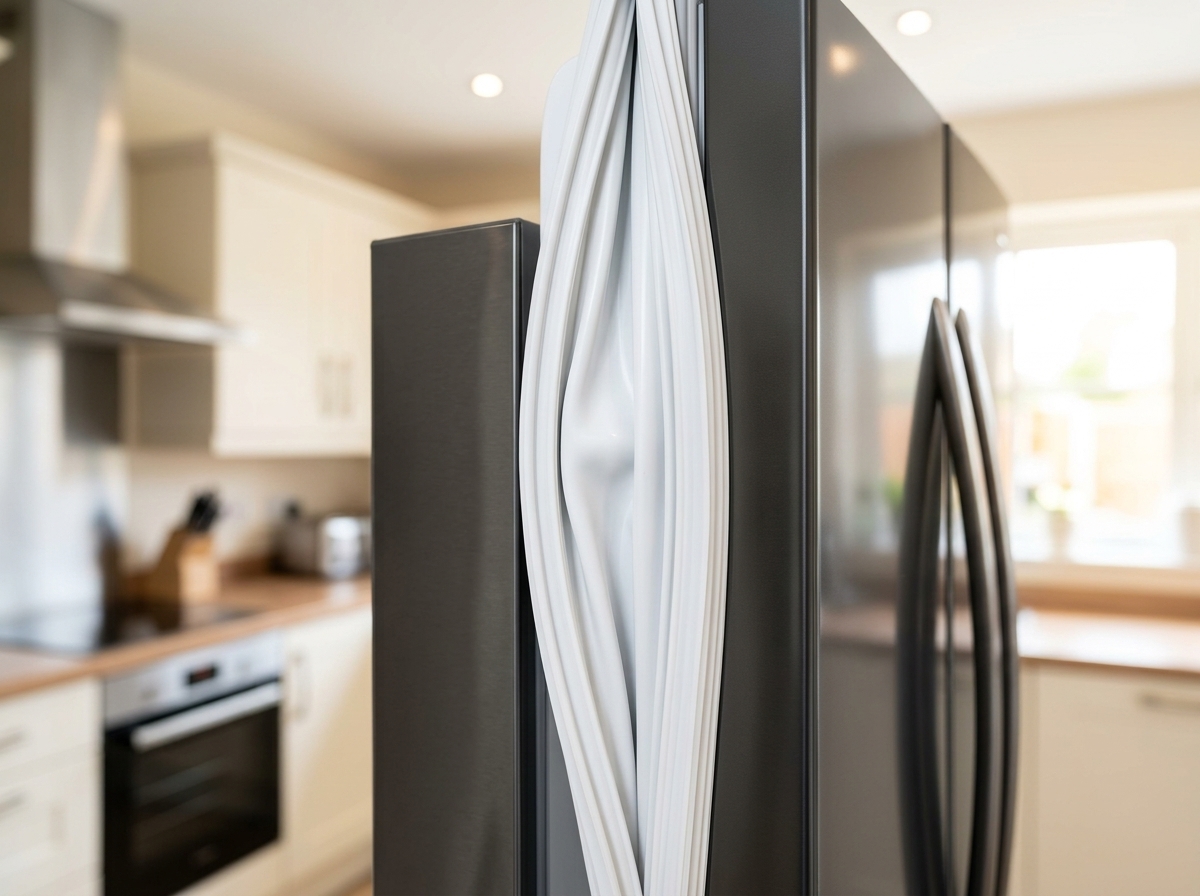
Step 5: Dry Gasket Completely & Verify Magnetic Airtight Seal
- Thoroughly wipe down all gasket folds with dry microfiber towels to eliminate any remaining moisture.
- If rubber feels stiff, apply a micro-thin layer of petroleum jelly with a cotton swab to restore elasticity and magnetic suction.
- Perform the Dollar Bill Test: Close the door on a dollar bill or paper slip; feel strong resistance when pulling to confirm an airtight seal.
- Reinstall shelves, restock food items, and enjoy a fresh, odor-free, energy-efficient refrigerator.
🩺 Self-Diagnosis Guide
✅ Can be restored with care
- Black mold spots, mildew, or dried food spills visible inside rubber gasket accordion folds
- Pungent, sour food odors escaping every time the refrigerator doors are opened
- Sticky condiment residue, dried sauces, or light frost crust accumulated on glass shelves
- Mild suction loss caused by dust and grime coating the magnetic gasket perimeter
❌ Reached end of lifespan (Proper disposal required)
- Torn, cracked, or hardened rubber gaskets leaking cold air continuously, causing heavy frost buildup (OEM gasket replacement required)
- Compressor motor failure or refrigerant leak with zero cooling capacity and overheating body
- Broken or sagging door hinge assemblies causing irreversible physical misalignment
- Blown main inverter control board or total electrical failure on aged appliances past lifespan
⚠️ Important Safety Precautions
- Never pour hot water over cold glass shelves straight from the fridge; sudden thermal shock can cause glass to shatter violently.
- Never use sharp knives, screwdrivers, or metal picks on rubber gaskets; punctures permanently destroy insulation suction.
- Always unplug the refrigerator before vacuuming rear compressor condenser coils to avoid high-voltage electric shock.
- A leaky door seal forces the compressor to run non-stop, skyrocketing electricity bills and shortening appliance lifespan.
💡 Cost Efficiency & Professional Inspection Guide
💡 Refrigerator Replacement Guide: 3 Key Technical Specs Before Buying
♻️ Reached end of lifespan?
Check local disposal regulations instead of forcing reuse.
❓ Frequently Asked Questions (FAQ)
Q. How do I remove stubborn black mold deeply embedded in refrigerator door gaskets?
A. When mold penetrates deep into silicone pores, soak rolled paper towel strips in 70% rubbing alcohol or a baking soda/vinegar paste, then press them into the gasket folds for 20 to 30 minutes like a treatment mask. Once loosened, gently scrub with a soft-bristle toothbrush to lift all mold without damaging the rubber.
Q. How can I easily test if my refrigerator door gasket is leaking cold air?
A. Perform the classic 'Dollar Bill Test': Place a dollar bill halfway across the door seal and close the door. Gently pull the bill outward. If it pulls out with little to no resistance or slides freely, the magnetic seal has lost suction and is leaking cold air, increasing your electricity bill.
Q. Can I revive a stiffened, hardened refrigerator door gasket without buying a replacement?
A. Yes. Gently warm the stiffened gasket section with a hairdryer on low-medium heat for 30 to 60 seconds while pressing it with your fingers to reshape the seal. Once flexible, apply a micro-thin film of petroleum jelly along the perimeter to maintain elasticity and magnetic suction.
Q. How much does a professional refrigerator sanitizing and deep cleaning service cost?
A. A professional residential appliance cleaning service charges approximately $120 to $200 for a multi-door refrigerator steam sanitation. Regular self-care using baking soda and rubbing alcohol costs under $1.00 and provides identical hygienic protection.