Power Strip Dust Cleaning Guide & Safe Replacement Cycle | Tracking Fire Prevention & Rubbing Alcohol Swab Care
Step-by-step cleaning guide to prevent tracking electrical fires caused by dust buildup inside power strip sockets using compressed air, rubbing alcohol swabs, and a 2-year lifespan safety inspection.
🛠️ Required Tools & Cleaning Agents
🔄 Alternative Detergents & Eco Tips
- Rubbing Alcohol → Alt: 99% Isopropyl Alcohol or Alcohol Swab Pads (High volatility prevents metal pin corrosion and leaves zero moisture)
- Air Blower → Alt: Hairdryer on Cool Air mode or Fine Paint Brush (Hot air can warp plastic casing; always use cool airflow)
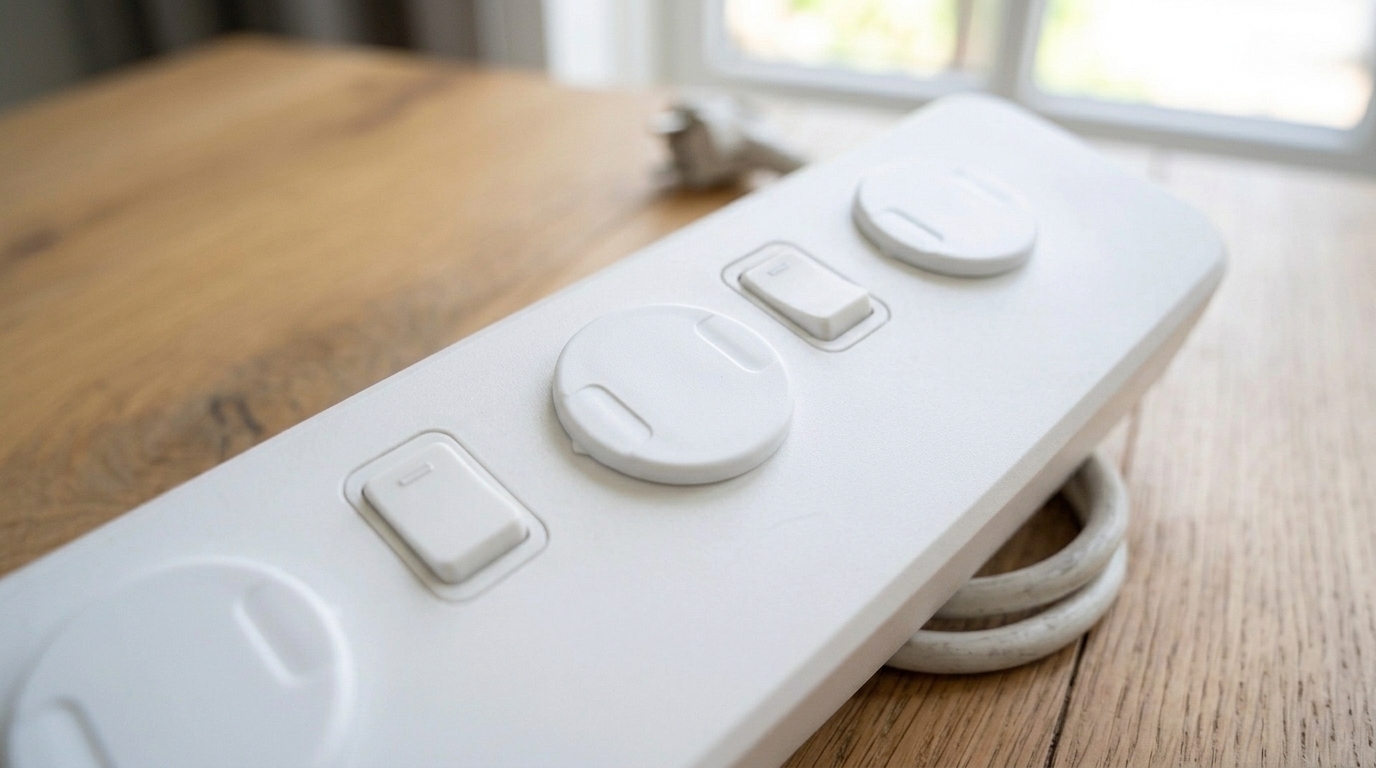
- Socket Safety Plugs → Alt: Silicone Safety Caps or Individual Switch Off (Blocks fluff, pet hair, and airborne moisture from settling into empty slots)
✨ Step-by-Step Care Instructions
Step 1: Unplug Main Power & Discharge Residual Current
- Unplug the main power strip plug completely from the wall outlet.
- Disconnect all appliance cords plugged into the strip.
- Toggle each power switch On/Off 3 to 4 times to discharge any residual capacitor charge.
- Never insert cleaning tools while connected to live power.
Step 2: Inspect Sockets & Switches for Dust Buildup
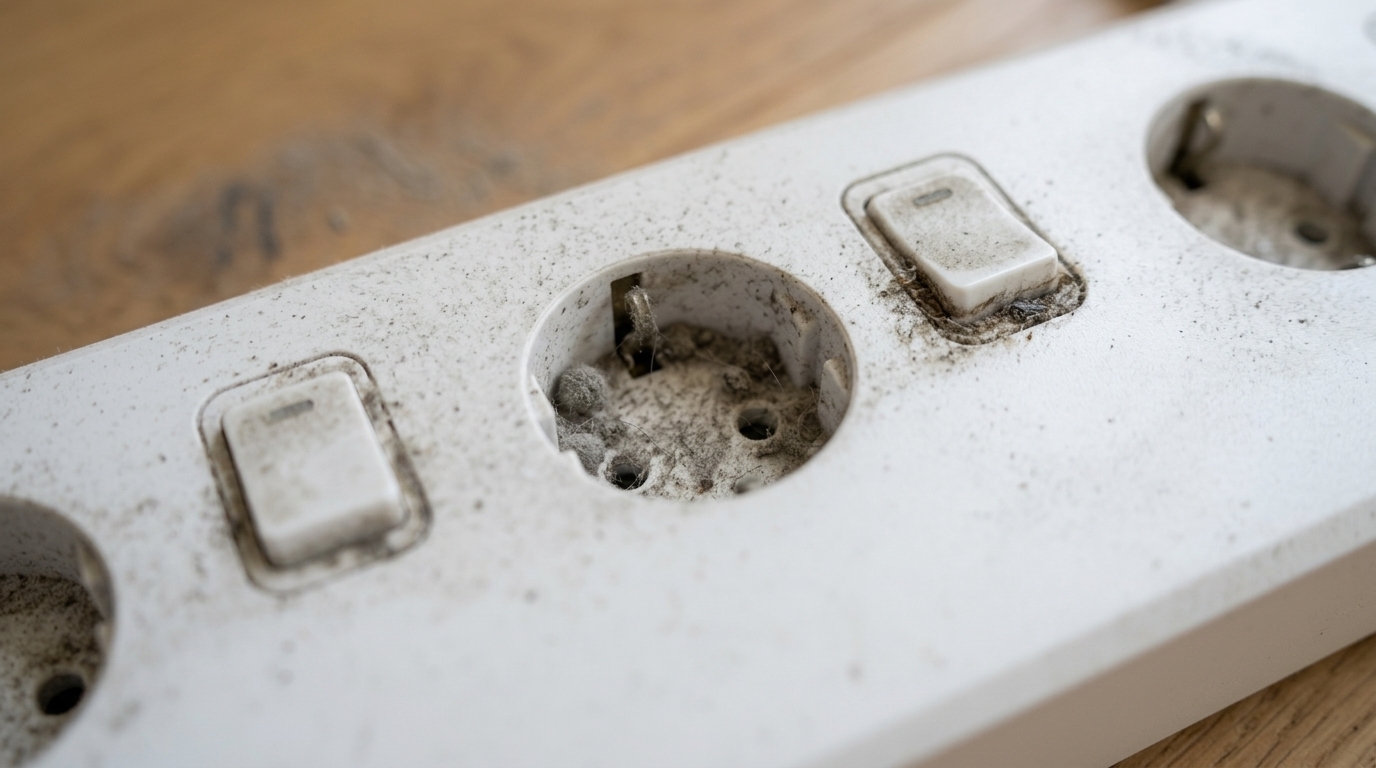
- Inspect internal metal ground clips and socket holes for compressed fluff and dirt.
- Check for yellowing, warping, or black scorch marks around plug slots.
- Verify mechanical tension and alignment of internal spring contacts.
Step 3: Compressed Air Dusting & Rubbing Alcohol Swab Deep Clean
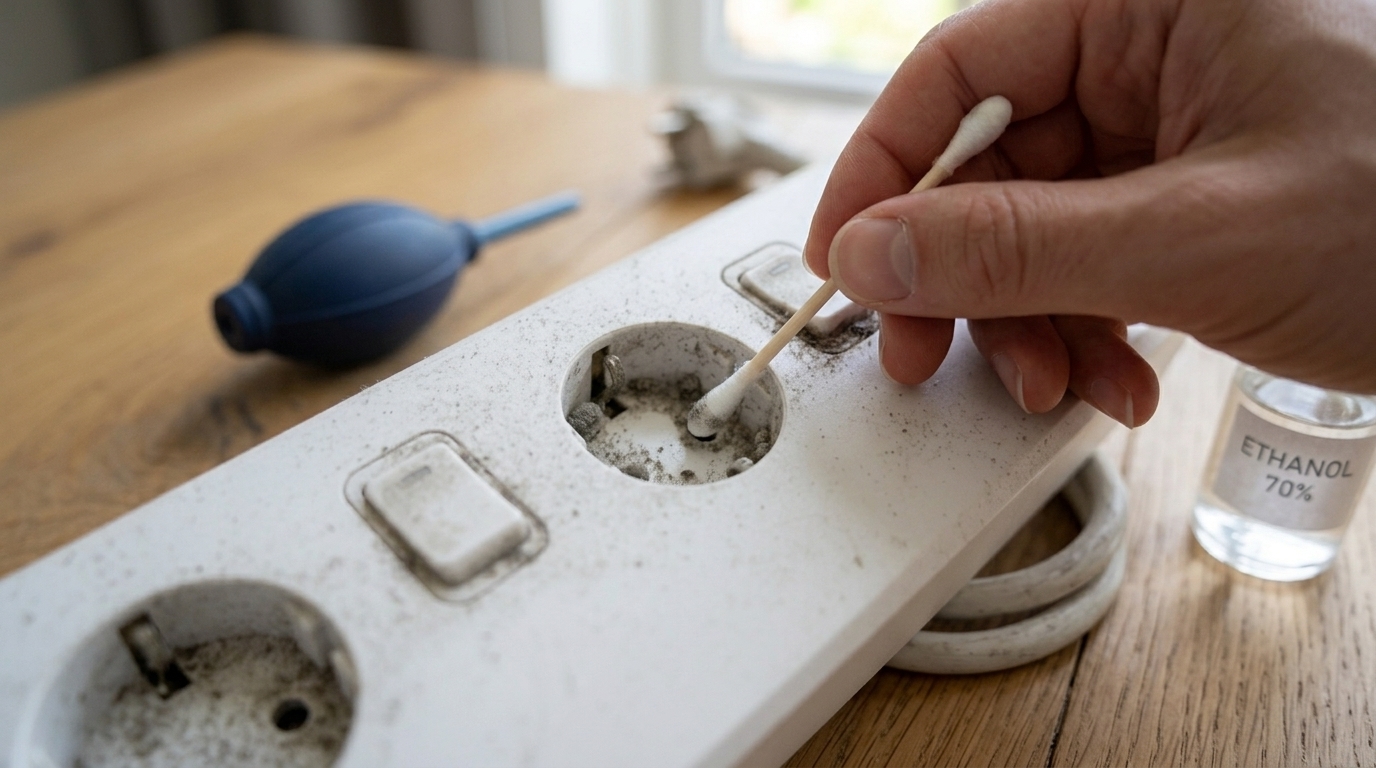
- Use an air blower or compressed air duster to blow out loose airborne dust from sockets.
- Lightly moisten a cotton swab with 70-80% rubbing alcohol (Never use water).
- Carefully wipe internal plastic walls and edges surrounding metal terminal pins.
- Use a wooden toothpick to gently dislodge compacted dirt clusters (Never use metal needles).
Step 4: Wipe Housing & Cable with Microfiber Cloth and Dry Completely
- Wipe the outer plastic housing and power cord with a microfiber cloth dampened with rubbing alcohol.
- Clean crevices around individual rocker switches using dry swabs.
- Allow to air-dry in a well-ventilated space for 10-20 minutes until alcohol fully evaporates.
- Ensure 100% dry state before plugging back in to prevent electrical shorts.
Step 5: Install Socket Safety Covers & Safe Power Reconnection
- Insert plastic safety plug caps into all unused socket slots to seal out dust.
- Distribute heavy appliances so total wattage stays under 80% of rated capacity (e.g. 2,500W limit).
- Firmly plug the main cord into the wall outlet without wobbling.
- Verify normal indicator lights and safe, fire-protected power operation.
🩺 Self-Diagnosis Guide
✅ Can be restored with care
- Thin layer of dry household dust settled inside empty socket slots and switches
- Plug pins fit snugly into sockets without wobbling or loose connections
- No discoloration, yellowing, plastic warping, or burnt scorch marks on the casing
- Power indicator LED and overload circuit breaker button operate normally
- Total usage period is under 1 year from purchase
❌ Reached end of lifespan (Proper disposal required)
- Loose socket tension causing poor electrical contact and sparking noises
- Yellowed casing or black scorch marks around plug openings indicating past overheating
- Hardened, brittle cable sheath or exposed copper wiring due to repetitive bending
- Stuck power switches or frequent overload safety trips under normal rated loads
- Aged multi-outlet power strip in service for more than 2 years
⚠️ Important Safety Precautions
- Never use water, dish soap, bleach, or liquid detergents as they cause severe terminal corrosion and lethal short circuits (Only use 70%+ rubbing alcohol).
- Never insert wet cotton swabs, metal pins, needles, or chopsticks into sockets while plugged into power.
- Always ensure 100% alcohol evaporation before reconnecting power to prevent spark ignition of alcohol vapors.
- Avoid daisy-chaining multiple power strips together as it is a major cause of overload overheating and electrical fires.
💡 Power Strip Replacement Guide: 3 Key Technical Specs Before Buying
❓ Frequently Asked Questions (FAQ)
Q. Can I use wet wipes or damp disinfectant towels to clean a power strip?
A. No, never. Wet wipes contain moisture that seeps into internal metal contact clips, causing rust and explosive short circuits upon power reconnection. Always use high-volatility rubbing alcohol on cotton swabs.
Q. What is the recommended replacement lifespan for a power strip?
A. Electrical safety authorities recommend replacing household power strips every 1 to 2 years. Even if the exterior looks clean, internal copper contact spring tension weakens over time, leading to micro-arcing and fire hazards.
Q. How should I dispose of old or retired power strips?
A. Power strips are complex e-waste containing copper wiring and circuit boards. Do not discard them in plastic recycling or general trash; drop them into dedicated small appliance recycling bins at local community centers or apartment complexes.