How to Restore Dull Kitchen Shears | Pivot Tension Adjustment, Bevel Sharpening & Grease Deep Cleaning
Master guide for restoring dull and slipping kitchen shears by adjusting pivot screw tension, sharpening outer 75-degree bevels with aluminum foil and whetstones, and chemically dissolving hardened meat grease and limescale in hinge crevices with baking soda.
🛠️ Required Tools & Cleaning Agents
🔄 Alternative Detergents & Eco Tips
- Aluminum Foil → Alt: Fine Sandpaper (#400–#800) or Glass Bottle Neck (Folding fine sandpaper abrasive-side out and cutting 10–15 strips, or sliding blades across a glass bottle neck, quickly hones microscopic teeth.)
- Rivet Tightening Hammer → Alt: Heavy Metal Spoon or Pliers (Place shears on a firm towel and gently tap the rivet head 2–3 times with the back of a heavy metal spoon to close loose gaps.)
- Food-Grade Mineral Oil → Alt: 1 Drop of Canola or Olive Oil (Never spray toxic industrial lubricants (WD-40) on food preparation shears; use safe mineral or vegetable oil.)
✨ Step-by-Step Care Instructions
Step 1: Degrease Hinge Crevices in Warm Baking Soda Solution
- Dissolve 1 tablespoon of baking soda and 2 drops of mild dish soap in 500ml of warm water.
- Fully open the shears (or separate take-apart blades) and submerge in the solution for 10 minutes.
- Mildly alkaline baking soda saponifies hardened animal fats and dissolves mineral deposits wedged inside the pivot joint.
- Scrub the cross-pivot area and serrations with an old toothbrush, rinse thoroughly, and towel off surface moisture.
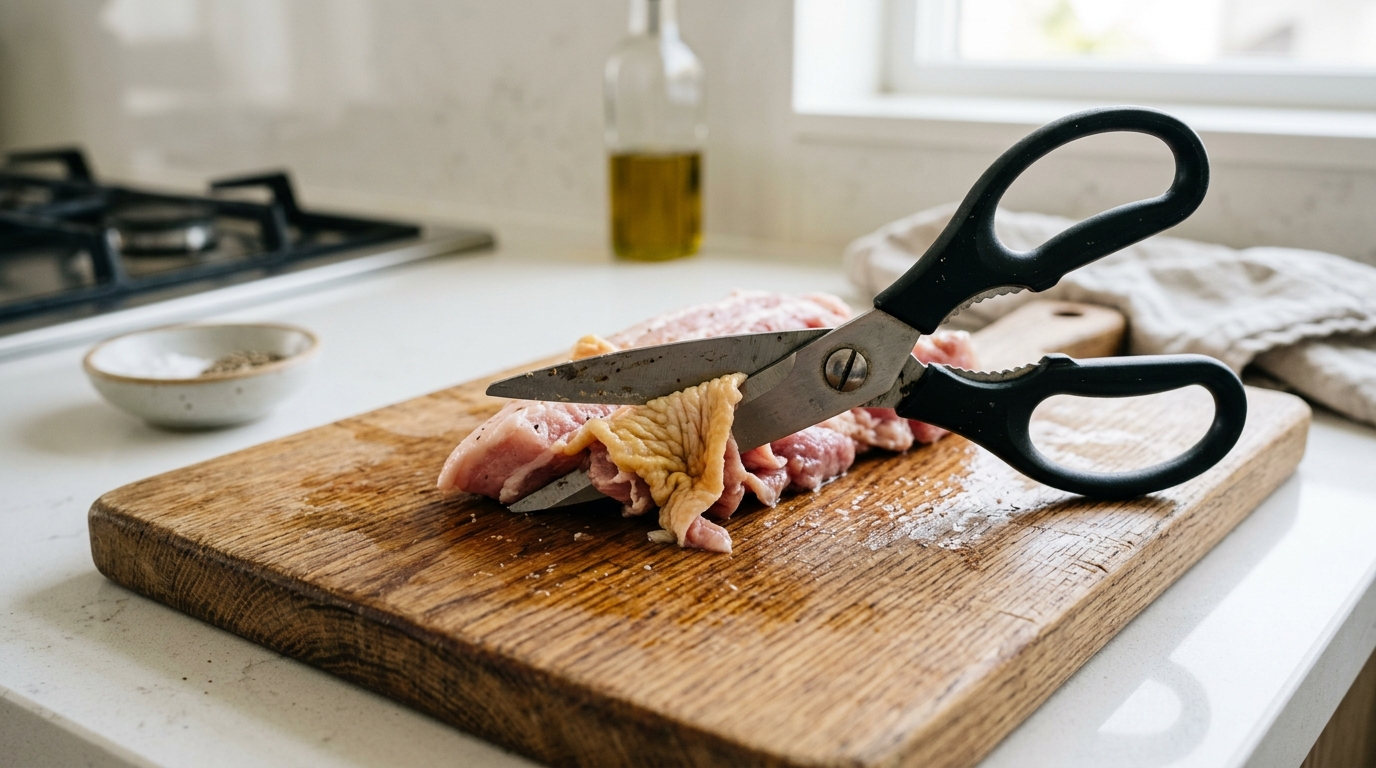
Step 2: [Before Inspection] Inspect Pivot Gap Looseness & Meat Pinching
- Hold blade tips and wiggle sideways to check for loose mechanical play or clicking at the central pivot.
- Attempt to cut thin paper towel; if paper folds and wedges between blades without severing, pivot tension is lost.
- Inspect inner blade faces; confirm zero deep rust pits (NEVER grind inner flat faces).
Step 3: [Process Key Honing] Cut 6–8 Layers of Aluminum Foil & 75° Outer Bevel Honing
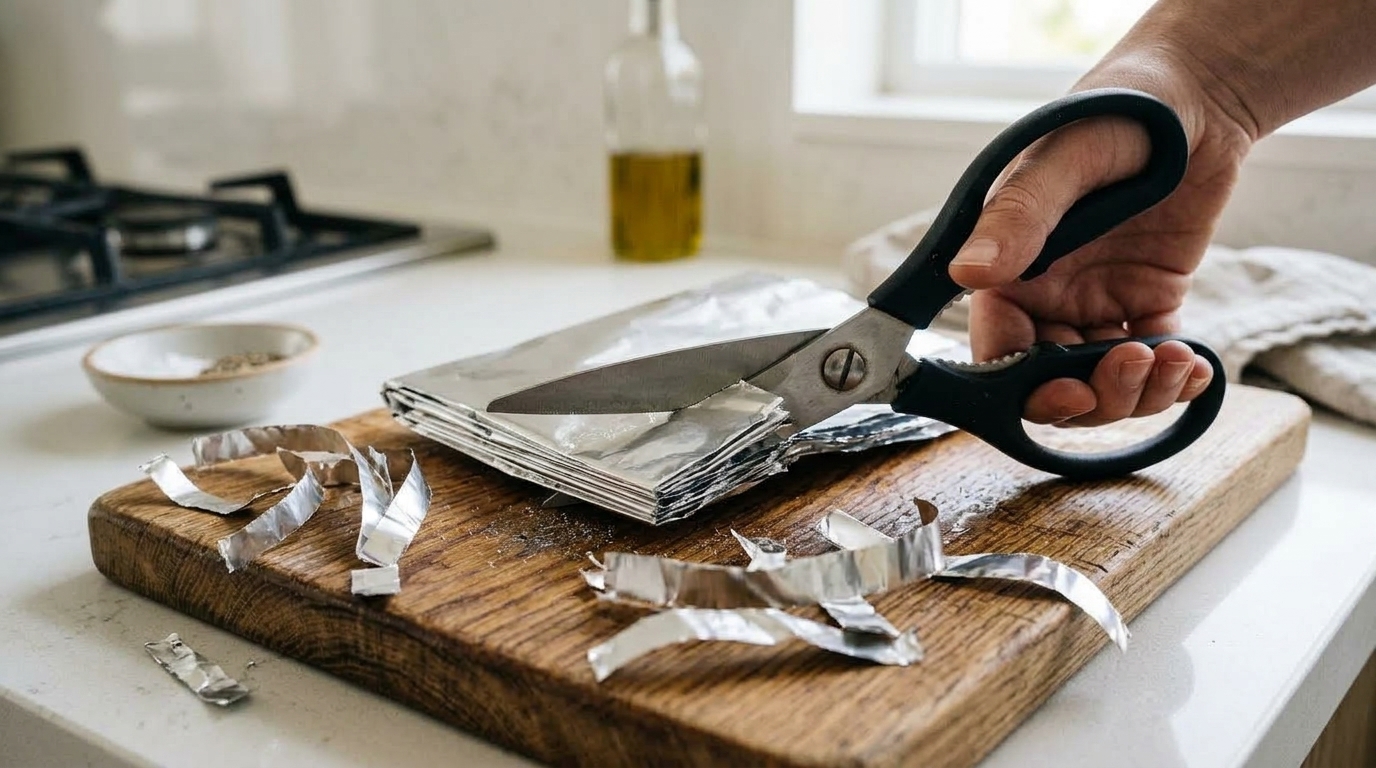
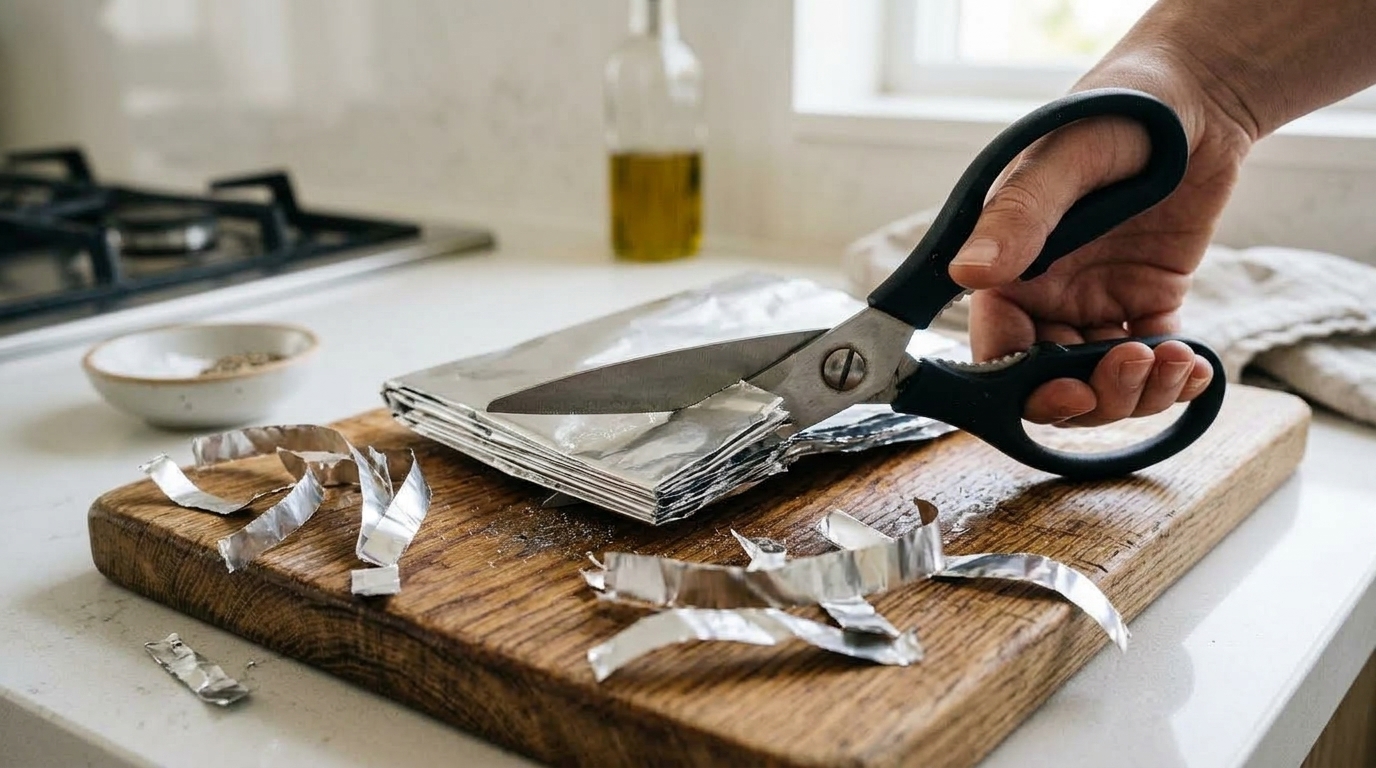
- Fold a sheet of aluminum foil multiple times until it is 6 to 8 layers thick.
- Open shears wide and execute 15–20 full crisp snips from throat to tip through the foil stack.
- Abrasive friction against dense aluminum strips knocks off microscopic burrs and realigns the sharp shearing corner.
- For deeper sharpening, rest ONLY the outer steep bevel (approx. 70°–80°) flat on a #1000 whetstone and push forward 5–10 light strokes.
Step 4: Tighten Pivot Screw/Rivet & Apply 1 Drop of Mineral Oil
- For screw-pivot shears, use a flathead screwdriver to turn the pivot screw clockwise until blades meet with firm contact.
- For riveted shears, place shears on a padded board and gently tap the rivet head 2–3 times with a small hammer to eliminate slop.
- Open and close the shears to confirm smooth, firm shearing tension without binding or flopping.
- Apply 1 single drop of food-grade mineral oil to the pivot joint and cycle 5 times to lubricate.
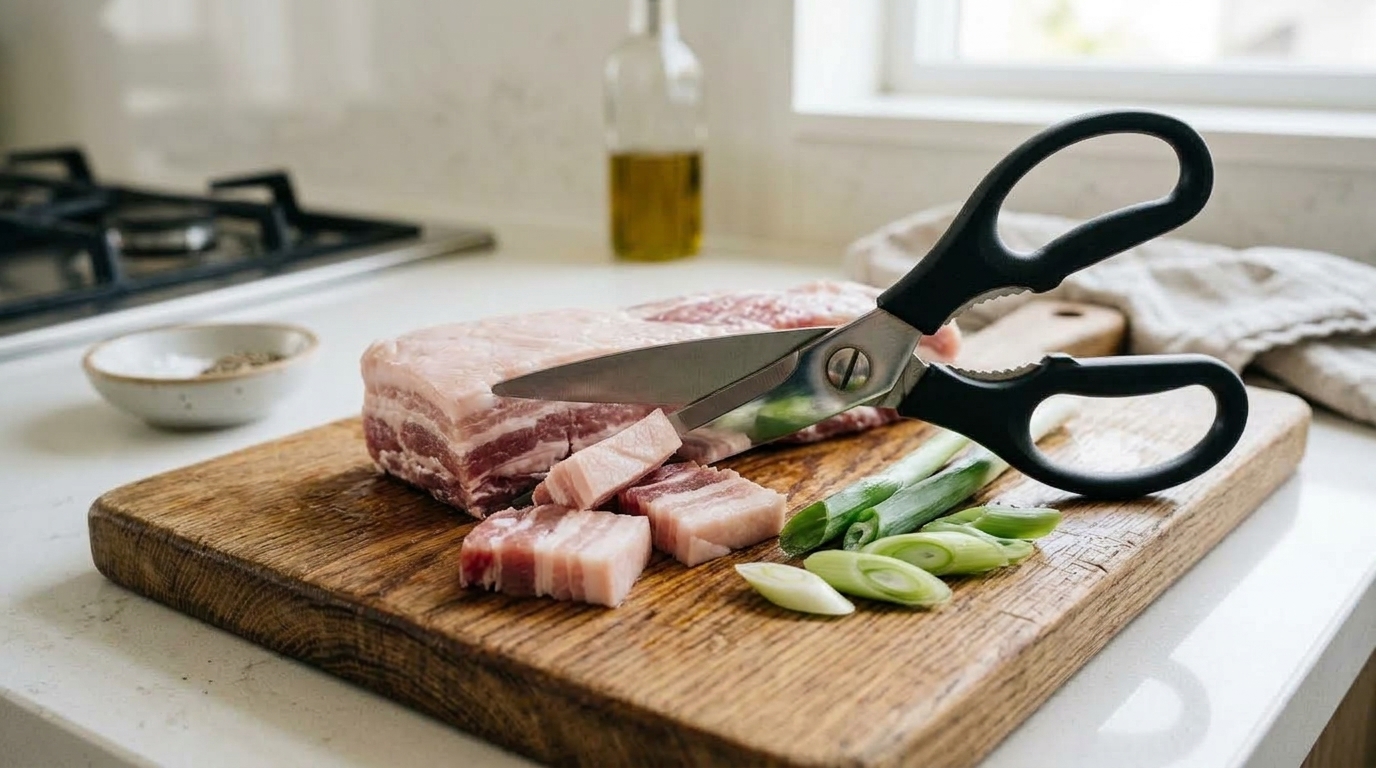
Step 5: [After Inspection] Verify Razor-Sharp Clean Cuts on Thick Meat & Scallions
- Test on thick pork belly or spring onions; verify effortless, crisp cuts without tearing or pinching.
- Wipe away excess oil with a clean paper towel and store in an open, ventilated block or magnetic strip.
- Always hand-wash and dry immediately; avoid automatic dishwashers to prevent pivot corrosion.
🩺 Self-Diagnosis Guide
✅ Can be restored with care
- Meat skin or thin paper pinches and folds between blades instead of shearing cleanly (100% restorable via pivot tension & foil stropping)
- Stiff, grinding hinge resistance when opening and closing (restorable with baking soda degreasing and 1 drop of oil)
- Mild bluntness on the outer 75-degree bevel (restorable with single-bevel whetstone honing)
❌ Reached end of lifespan (Proper disposal required)
- Cracked or snapped ergonomic plastic handles exposing raw jagged metal (severe pinch hazard; replace immediately)
- Severely rusted or broken central pivot rivet causing blades to fall apart completely
- Deep gouges exceeding 3mm along cutting edges that jam the scissor stroke
⚠️ Important Safety Precautions
- Sharpen with aluminum foil before food prep or clean the cutting board thoroughly afterward to prevent stray foil particles from contaminating food.
- Do not overtighten the pivot screw; excessive stiffness causes severe wrist fatigue and accelerates metal galling.
- Never soak kitchen shears in chlorine bleach; harsh oxidizers pit stainless steel and corrode central pivot bolts rapidly.
💡 Kitchen Shears Replacement Guide: 3 Key Technical Specs Before Buying
♻️ Reached end of lifespan?
Check local disposal regulations instead of forcing reuse.
❓ Frequently Asked Questions (FAQ)
Q. Does cutting aluminum foil really sharpen scissors, and how does it work?
A. Yes, it is a proven mechanical technique. Slicing through multiple stacked layers of aluminum foil creates high-friction metal-on-metal contact. This shears off microscopic rolled burrs and polishes the cutting apex, quickly restoring crisp shearing power. Cutting fine sandpaper (#600–#800) abrasive-side out achieves an identical deburring effect.
Q. Why should I NEVER grind the inner flat face of scissor blades?
A. Scissors function via dynamic shear force where two opposed inner flat faces (rides) must glide tightly against each other with zero gap. Grinding the inside flat surface removes metal from the contact plane, creating a permanent gap that causes paper and meat to fold and slip without cutting. Only sharpen the outer 70°–80° bevel.
Q. How do I tighten scissors with a permanent round rivet instead of a screw?
A. Place the closed shears on a towel-padded cutting board. Take a small hammer or the back of a heavy metal spoon and gently tap the center rivet head 2 to 3 times. The light impact slightly flares the soft rivet pin, eliminating hinge play and pressing the cutting edges back into tight alignment.
Q. How do I safely dispose of broken or worn-out kitchen scissors?
A. Even though scissors contain steel, never toss bare blades into curbside metal bins due to severe laceration hazards for sanitation workers. Wrap the closed blades in 5 layers of newspaper or insert into a cardboard carton, tape securely, label 'CAUTION: SHARP BLADES', and place inside municipal general waste bags.