DIY Bathroom Washbasin Auto Pop-Up Stopper Replacement & Scrap Metal Guide
- 1The push-button automatic pop-up stopper on a bathroom sink is a high-wear component that frequently sticks shut when internal return springs fatigue and hair and soap scum solidify around the shaft.
- 2Neglecting a seized drain plug prevents proper wastewater discharge and accelerates seal deterioration along lower P-traps, risking costly ceiling leak damages to lower-floor units.
- 3While calling a plumber incurs ₩70,000–₩150,000 in service fees, a standard replacement unit (32–38 mm pipe diameter with or without overflow ports) allows a 10-minute DIY swap for under ₩15,000.
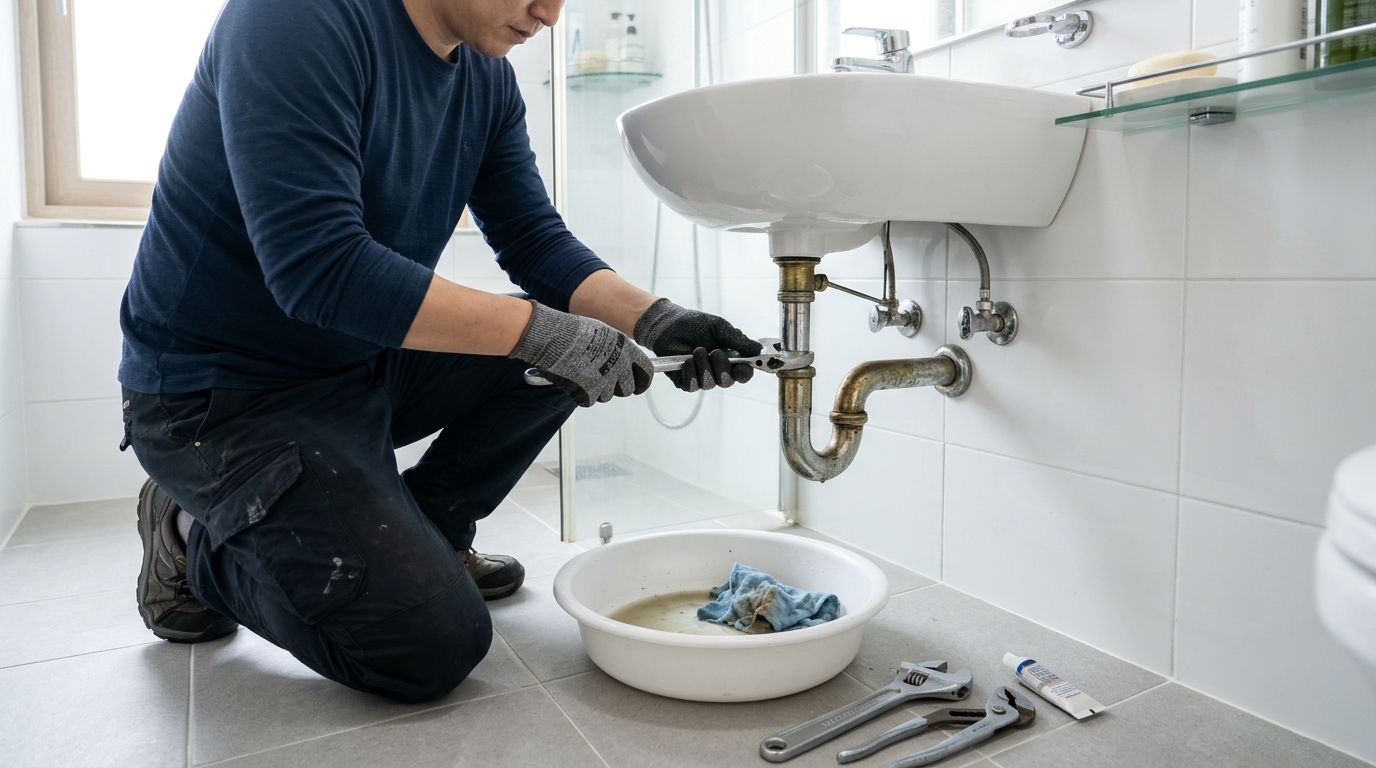
- 4Before unscrewing fittings, place a shallow basin below the basin to catch stagnant black sludge water.
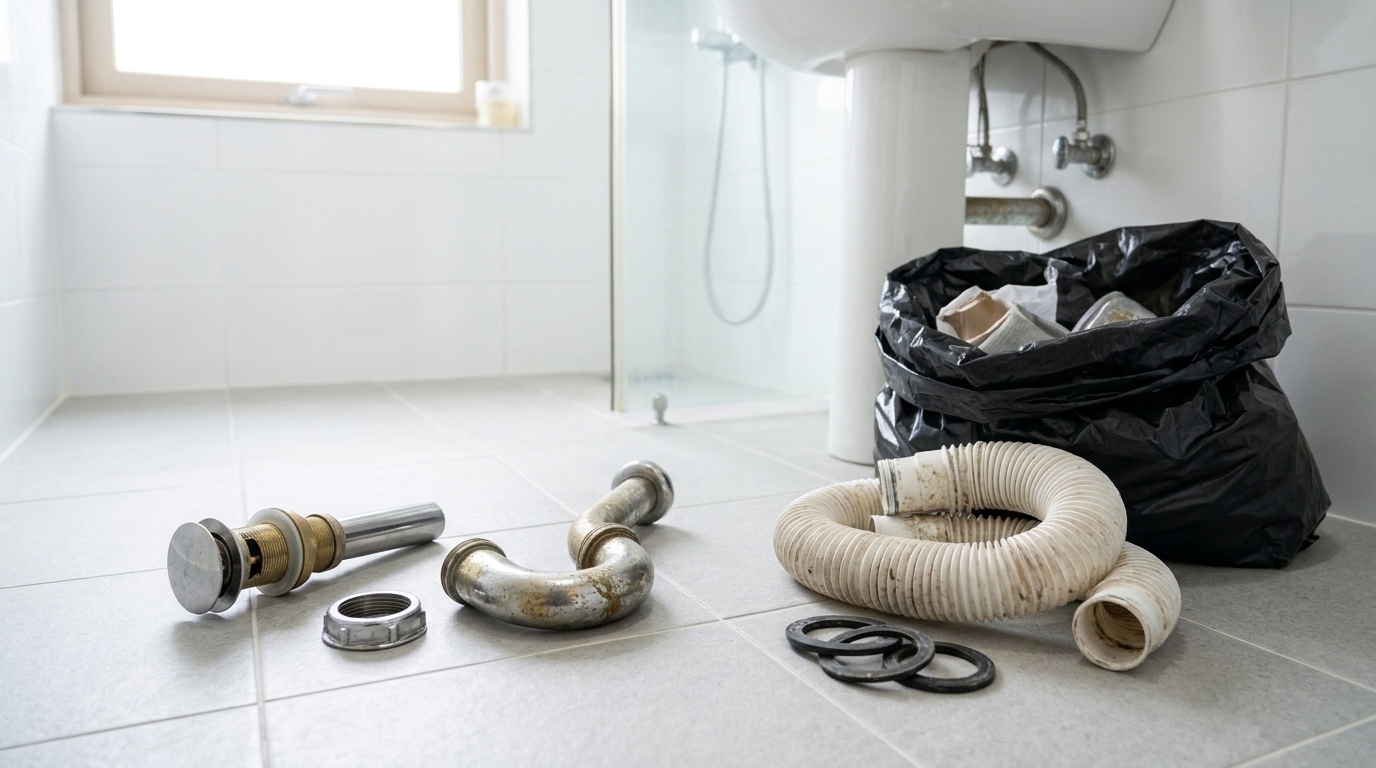
- ✓The salvaged brass and stainless steel drain pipe can be sorted into scrap metal recycling, whereas grime-encrusted plastic corrugated flexible tubes and degraded rubber gaskets belong in regular municipal trash bags.
Follow these steps
- 1
Step 1 (Place Drain Catch Basin & Match Overflow Specs): Position a wide basin and rags directly underneath the sink trap to collect foul stagnant sludge. Inspect the upper bowl rim: if an emergency overflow port exists, acquire an 'overflow-type' pop-up assembly; if the bowl is seamless without holes, use a 'non-overflow' model.
- 2
Step 2 (Disconnect Lower Drain Trap & Drain Dirty Water): Unscrew the slip-joint nut connecting the lower flexible I-trap or brass P-trap to the pop-up tailpiece counter-clockwise. Allow residual stagnant black water and hair sludge to completely discharge into the catch basin.
- 3
Step 3 (Unscrew Mounting Locknut & Extract Old Pop-Up Body): Use water pump pliers (or hand-turn if tool-free) to loosen the large brass or plastic retaining nut and tapered rubber gasket located on the underside of the ceramic basin. Once loosened, lift the entire pop-up stopper assembly straight upward from the top of the sink.
- 4
Step 4 (Scrub Drain Orifice & Install New Pop-Up Assembly): Thoroughly scrub accumulated soap scum, limescale, and mold from the sink drain opening using an old toothbrush and mild detergent. Seat the upper silicone washer into the drain hole, feed the new pop-up shaft down from above, and snug the bottom rubber seal, washer, and locknut securely without cracking the ceramic basin.
- 5
Step 5 (Reconnect Trap, Test Water-Tightness & Sort Waste): Fasten the drain trap onto the lower pop-up tailpiece, fill the sink to test drainage, and dab all joints with dry paper towel to verify zero leakage. Rinse the detached brass and stainless pop-up pipe body and sort into curbside scrap metal recycling; bag greasy plastic hoses, degraded rubber gaskets, and soiled paper into municipal general trash.
Frequently asked question
How do I determine whether my sink requires an overflow or non-overflow pop-up?
Inspect the inside upper wall of your sink basin for small relief holes designed to prevent water from overflowing. If holes exist, purchase an 'overflow' pop-up with corresponding side ports. Installing a non-overflow drain on an overflow basin blocks overflow drainage and risks pooling, while installing an overflow unit on a seamless bowl leaks through the open side ports. Over 90% of residential sinks use overflow models.
What should I do if the old locknut is rusted solid and won't turn with a wrench?
Corroded brass locknuts often seize due to mineral scale and oxidation. Forcing them with heavy tools risks fracturing the ceramic basin. Generously spray penetrating oil (such as WD-40) into the threaded seam and allow it to soak for 15–20 minutes before turning. If it remains frozen, carefully make a vertical notch through the locknut using a mini hacksaw blade to release tension without damaging the basin.
How should I properly sort and dispose of the removed metal drain and plastic trap?
The pop-up stopper mechanism and vertical tailpipe are made of brass or stainless steel, which are 100% recyclable; simply rinse off residue and deposit into curbside scrap metal recycling. In contrast, the flexible corrugated plastic trap hose is non-recyclable soft PVC coated with grime and must be placed into standard municipal trash bags along with worn rubber gaskets.
How do I fix minor water leaks around the trap connections after installation?
Minor leaks usually stem from an inverted tapered rubber gasket or cross-threaded slip nuts. Ensure the narrow, tapered side of the black rubber seal points upward directly into the ceramic drain hole. Wrapping 5–7 turns of PTFE Teflon plumber's tape clockwise around the male threads before retightening the nut creates an impermeable, water-tight seal.