DIY Wall Light Switch & Outlet Replacement and Old Hardware Disposal Guide
- 1Over a decade of daily use, residential wall light switches turn yellow from UV exposure and develop worn internal contact springs that cause lights to flicker.
- 2Meanwhile, aging recessed wall outlets lose brass clip tension, resulting in loose plugs, electrical arcing sparks, burning odors, and potential fire hazards.
- 3While hiring an electrician costs ₩30,000–₩50,000 per fixture, shutting off the main circuit breaker and using basic insulated screwdrivers allows any homeowner to upgrade to modern wide-rocker switches and grounded 2-socket outlets for ₩2,000–₩5,000 in 10 minutes.
- 4Photographing the rear wiring and U-shaped jumper bridges before pressing the quick-release terminal pins to transfer wires one-by-one prevents miswiring completely.
- ✓This guide covers breaker lockout safety, push-in terminal release techniques, green ground-wire seating, and proper disposal of detached steel mounting frames (scrap metal recycling) versus flame-retardant polycarbonate modules containing embedded brass contacts (municipal trash bags).
Follow these steps
- 1
Shut Off Main Circuit Breaker and Verify Zero Power: Open your apartment's main breaker panel (typically in the entryway or shoe cabinet) and flip the 'Lighting' breaker, 'Outlets' breaker, or the main RCD breaker to the OFF position. Toggle the wall switch or test the socket with a voltage tester to confirm zero live current, and put on insulated work gloves.
- 2
Pop Off Faceplate Cover and Unscrew Wall Box Screws: Insert a flathead screwdriver into the small pry notch at the very bottom edge of the switch or outlet faceplate and twist gently to snap off the outer cover. Use a Phillips screwdriver to unscrew the two long top and bottom mounting screws, then pull the module forward out of the recessed wall box.
- 3
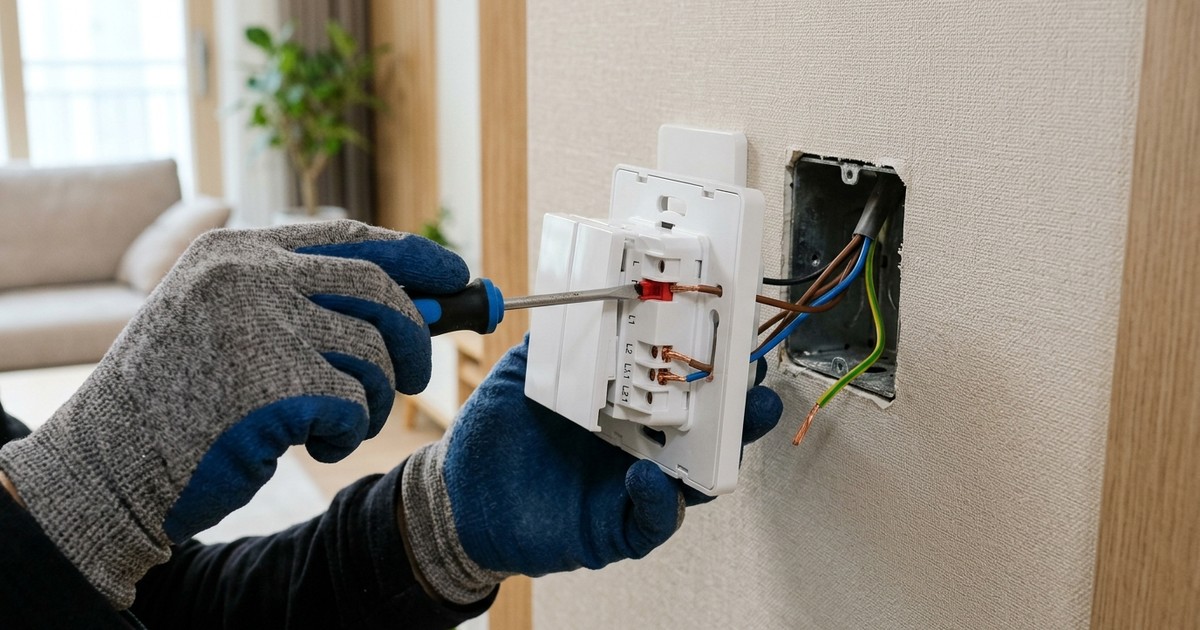
Photograph Existing Wiring and Press Quick-Release Pins: Before disconnecting any wires, take a clear close-up smartphone photo of the rear terminal layout, noting wire colors, U-shaped jumper bridges (on 2-gang or 3-gang switches), and the green ground wire. Press the small rectangular release button beside each wire hole firmly with a thin flathead screwdriver or awl while pulling the solid copper wire straight out.
- 4
Transfer Wires 1-to-1 and Connect Ground/Jumper Bridges: Push each stripped solid copper wire (10–12mm strip length) deep into the matching terminal hole on the new switch or outlet so no bare copper remains exposed outside the housing (install the included U-shaped jumper wire across common terminals on multi-gang switches). For grounded 220V outlets, insert the green/yellow ground wire into the dedicated ground port, and tug each wire gently to confirm it is locked.
- 5
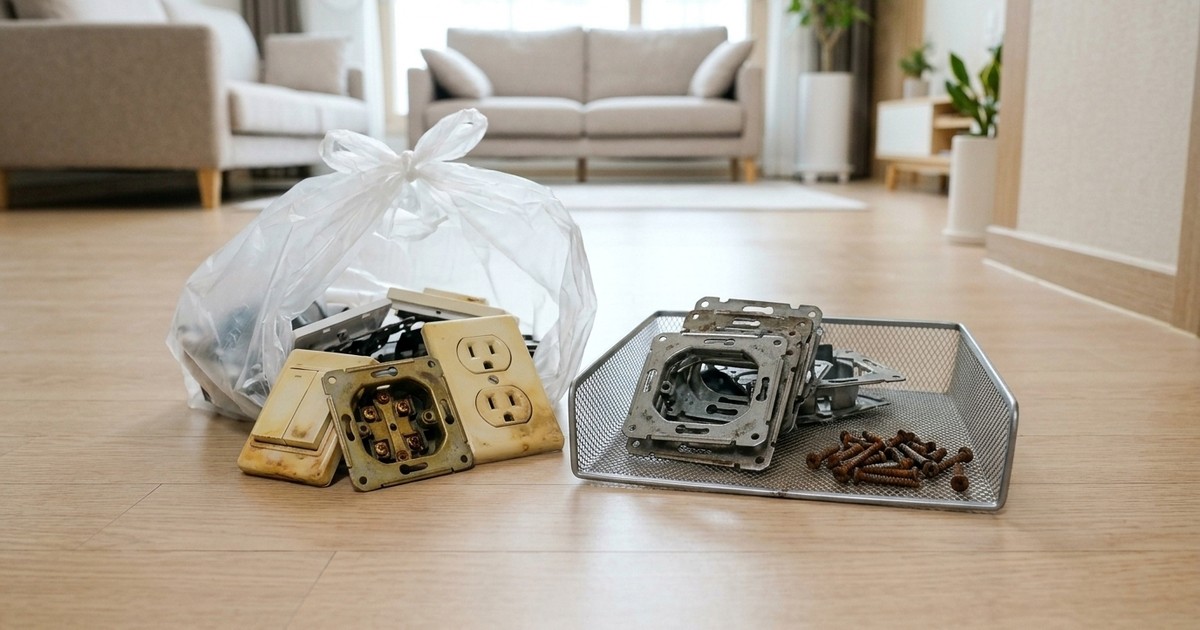
Mount Level, Restore Power, and Sort Old Hardware: Fold the stiff copper wires neatly back into the wall junction box, tighten the top and bottom mounting screws level, snap on the new faceplate cover, and flip the circuit breaker back ON to test. Separate any detachable stamped steel mounting frames and long metal screws for curbside scrap metal recycling; place the old flame-retardant polycarbonate (PC/ABS) switch and outlet modules (containing permanently embedded brass contacts) and yellowed plastic faceplates into a standard municipal trash bag.
Frequently asked question
The copper wires behind the switch won't come out no matter how hard I pull. How do I release them?
Wall switches and outlets use internal one-way spring clamps that grip the solid copper wire tighter the harder you pull. Locate the small rectangular push-button slot right next to the wire hole, press it firmly all the way down with the tip of a thin flathead screwdriver or awl to release the spring tension, and pull the wire out effortlessly.
What is the short U-shaped bridge wire (jumper wire) plugged into the back of a 2-gang or 3-gang switch?
That short U-shaped wire is a 'jumper bridge' that shares incoming 220V live power from a single wall feed wire across all two or three switch buttons. If you omit the jumper wire, the remaining switch buttons will not receive power; always install the included U-jumper across the common line terminals just like the original setup.
After replacing a multi-gang light switch, why does one button fail to light or toggle another room's lamp?
This happens when the incoming 'common live feed wire' and the outgoing 'lamp load wires' are swapped between the left and right terminal columns. Shut off the breaker, check your before-photo, and ensure the main live feed wire is plugged into the side bridged by the jumper wire while the individual lamp wires occupy the opposite side.
Should old wall switches and outlets be thrown into plastic recycling or small e-waste bins?
Neither. Wall switches and outlets are composite building electrical supplies made of thermoset/flame-retardant polycarbonate permanently fused with internal brass contacts and steel springs. Detachable steel mounting frames and screws go into scrap metal recycling, while the switch/outlet modules and yellowed plastic faceplates must be disposed of in standard municipal trash bags.