How to Clean & Sanitize Water Purifier Spout (Cork) in 10 Minutes | Biofilm & Limescale Removal
A 10-minute professional DIY sanitization guide using rubbing alcohol and citric acid to eliminate 99.9% of pink biofilm bacteria, mold, and white mineral limescale from water purifier dispenser spouts and drip trays.
🛠️ Required Tools & Cleaning Agents
🔄 Alternative Detergents & Eco Tips
- Rubbing Alcohol → Alt: Individually wrapped sterile alcohol prep pads (Evaporates completely without moisture residue, ensuring instant 99.9% sanitization)
- Citric Acid → Alt: Distilled white vinegar diluted 1:1 with warm water (Highly effective at dissolving hardened calcium carbonate scale along spout screw threads)
- Crevice Brush → Alt: Interdental brush or soft silicone micro brush (Perfect for precision cleaning inside narrow nozzle openings and internal groove channels)
✨ Step-by-Step Care Instructions
Step 1: Lock Dispenser Function & Detach Drip Tray
- Press and hold the Lock button for 3 seconds to prevent accidental hot water dispensing and burn injuries.
- Gently pull forward the drip tray and top splash grill from the bottom of the water dispenser.
- Empty accumulated stagnant drain water into the kitchen sink.
Step 2: Detach Removable Spout Cap & Inspect Biofilm
- Rotate the dispenser nozzle cap counter-clockwise to detach it from the main body (check if twist-off or pull-off type).
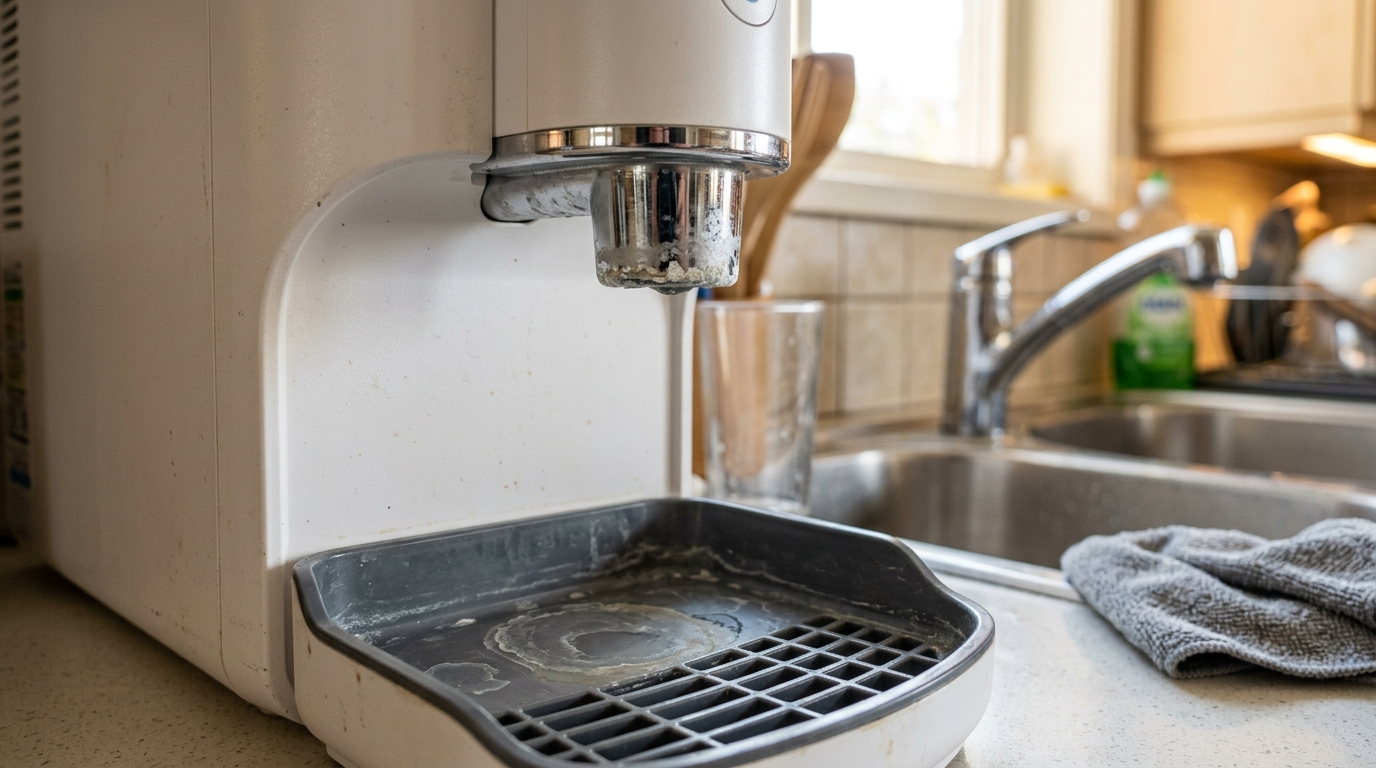
- Inspect the internal nozzle opening and threads for chalky white limescale buildup and pinkish biofilm residue.
- For non-detachable models, do not force twist; prepare dedicated sanitizing cup mode or direct cotton swab cleaning.
Step 3: 360-Degree Alcohol Swab Sanitization & Scale Scrubbing
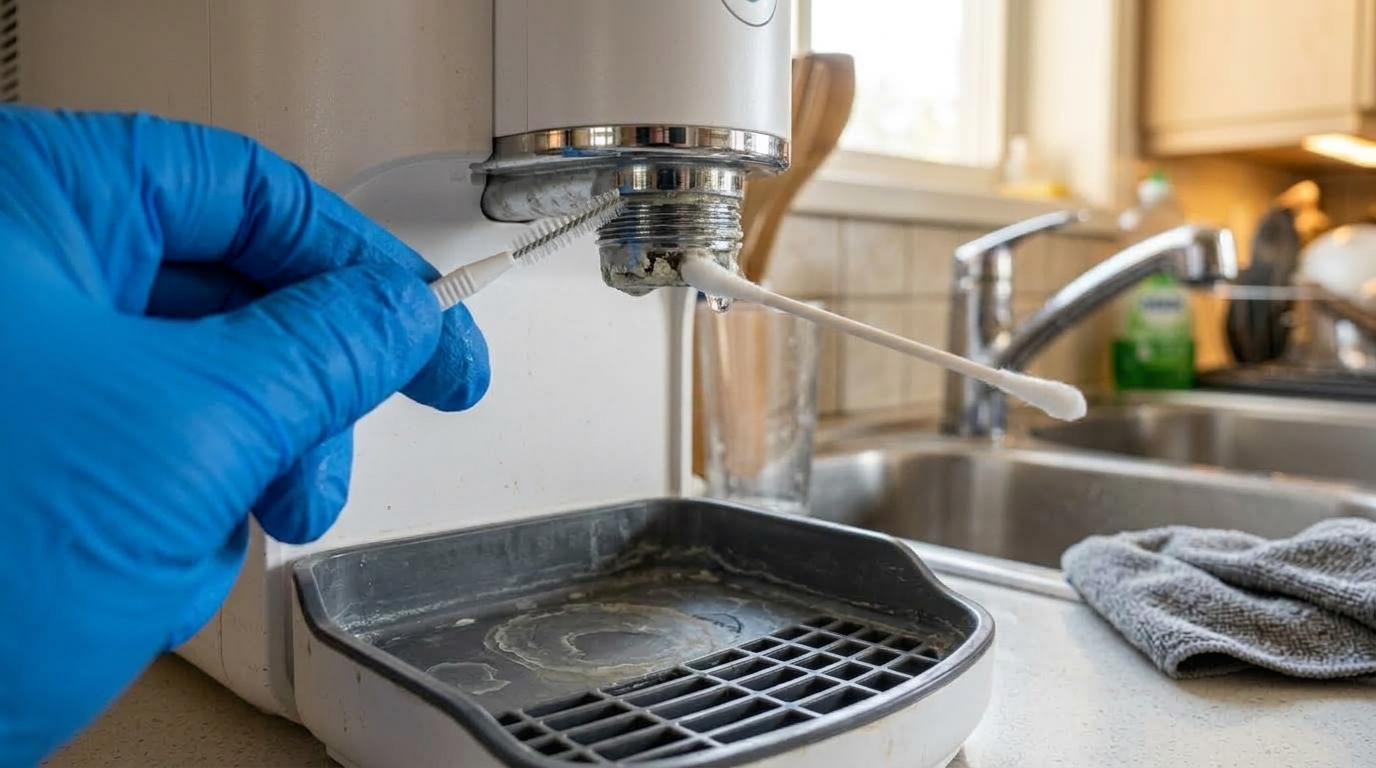
- Generously saturate a cotton swab with 70-80% rubbing alcohol and rotate 360 degrees inside the nozzle spout.
- Dip a micro crevice brush in ethanol and gently scrub away stubborn mineral scale and slime along the connecting thread grooves.
- Repeat with fresh cotton buds 2 to 3 times until no residual grime or discoloration comes off.
Step 4: Soak Detached Spout in Citric Acid & Wash Drip Tray
- Dissolve 1 tsp (5g) of citric acid in 100ml warm water in a small cup, then soak the detached spout cap for 10 minutes to dissolve mineral scale.
- Wash the drip tray and metal grill with mild dish soap and a soft sponge, then rinse thoroughly under clean tap water.
- Rinse the descaled spout cap under running water and dry completely with a clean paper towel.
Step 5: Reassemble Spout & Flush 1 Liter of Fresh Water
- Thread the clean, dry spout cap clockwise back onto the dispenser nozzle firmly and reinstall the drip tray.
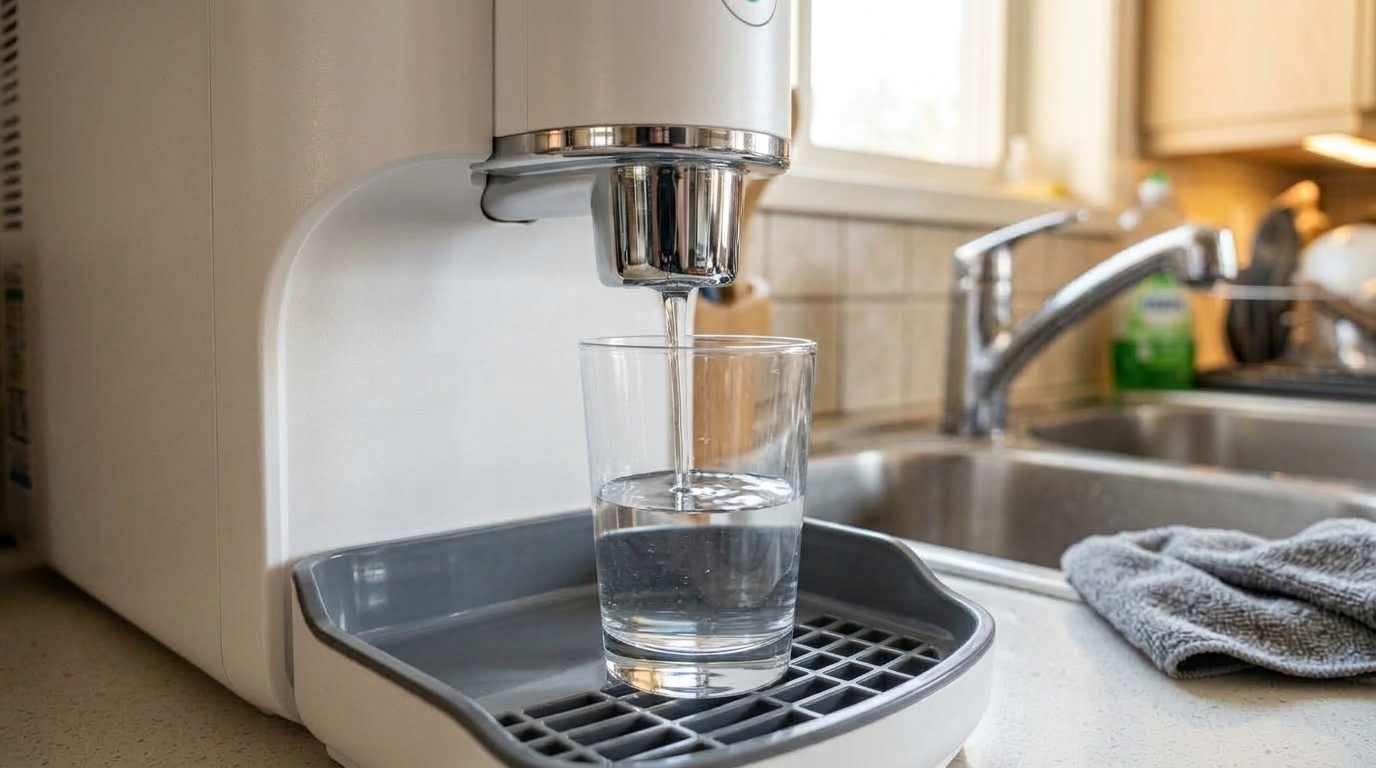
- Unlock the dispenser buttons and continuously dispense at least 1 Liter (3 to 4 large cups) of purified water to flush out residual air and rinse water.
- Discard the flush water, verify the fresh, clean taste of the water, and complete maintenance.
🩺 Self-Diagnosis Guide
✅ Can be restored with care
- Faint pink or reddish bacterial biofilm (yeast buildup) forming around the nozzle tip and screw threads
- Chalky white mineral limescale (calcium crust) deposits visible on the spout interior or drip tray
- Water stream slightly sprays or bends to one side due to minor mineral obstruction at the nozzle tip
- Cold, hot, and ambient water dispensing functions, touch panel, and internal pump operate normally
- No internal machine leaks or puddles under the base, requiring only external hygiene maintenance
❌ Reached end of lifespan (Proper disposal required)
- Internal water line rupture causing continuous water leakage inside the chassis or kitchen cabinet base
- Cooling compressor failure resulting in total loss of cold water dispensing with loud motor buzzing and overheating
- Main PCB motherboard flooding causing power failure, short circuits, or tripping the home circuit breaker
- Filter manifold head cracked causing high-pressure water blowouts and inability to seat replacement filters
- Manufacturer replacement parts discontinued and unit over 7 years old with repair cost exceeding new unit price
⚠️ Important Safety Precautions
- Never spray chlorine bleach or harsh industrial detergents directly into the dispenser nozzle (serious chemical contamination hazard).
- Never scrub the nozzle interior with steel wool or wire brushes (creates micro-scratches that accelerate bacterial colonization).
- The spout becomes scalding hot during hot water use; always activate the hot water safety lock and allow it to cool before cleaning.
- Do not forcibly twist non-detachable nozzle heads, as internal supply tubing may rupture, resulting in severe household flooding.
💡 Cost Efficiency & Professional Inspection Guide
💡 Direct-Flow Water Purifier Replacement Guide: 3 Key Technical Specs Before Buying
♻️ Reached end of lifespan?
Check local disposal regulations instead of forcing reuse.
❓ Frequently Asked Questions (FAQ)
Q. What is the pink slime that forms on water purifier nozzles and drip trays?
A. It is a bacterial biofilm formed by airborne microorganisms such as Rhodotorula yeast or Serratia marcescens, which thrive in moist environments by feeding on minerals. While not acutely lethal, left untreated it can contaminate drinking water and cause gastrointestinal irritation in sensitive individuals, so regular alcohol sanitization is essential.
Q. Will sanitizing with rubbing alcohol leave residual chemicals in my drinking water?
A. No. Rubbing alcohol (70-80% ethanol) evaporates 100% into the air within seconds at room temperature. Furthermore, flushing at least 1 Liter of fresh water through the nozzle immediately after cleaning completely rinses away any trace residue, making the water 100% safe to drink.
Q. How do I properly dispose of a broken or expired water purifier?
A. For rented units, contact your rental agency (Coway, SK Magic, Cuckoo, LG, etc.) for official retrieval upon contract termination. For privately owned purifiers, you can schedule free pickup through the National E-Waste Free Home Collection Service (1599-0903 in Korea) or purchase a municipal bulky waste disposal sticker.