How to Deep Clean a Water Flosser: Pink Mold, Limescale & Biofilm Descaling Guide
A step-by-step professional guide to descaling and sanitizing your Waterpik water flosser, removing stubborn pink mold (Methylobacterium), mineral limescale, and internal pump biofilm using citric acid and diluted vinegar.
🛠️ Required Tools & Cleaning Agents
🔄 Alternative Detergents & Eco Tips
- Citric Acid Powder → Alt: Distilled White Vinegar (2:1 warm water to vinegar ratio) (Citric acid offers an odorless, highly effective food-grade descaling alternative to vinegar.)
- Detail Brush → Alt: Interdental brush and pointed cotton swabs (Ideal for delicately clearing slime and limescale from reservoir valve seals and nozzle tips.)
- Microfiber Towel → Alt: Drying rack and kitchen paper towels (Store the reservoir upside down in a ventilated area to ensure complete air drying and prevent bacterial recurrence.)
✨ Step-by-Step Care Instructions
Step 1: Disassemble Reservoir & Valve Inspection
- Unplug the power cord completely from the wall outlet; remove cordless models from charging bases.
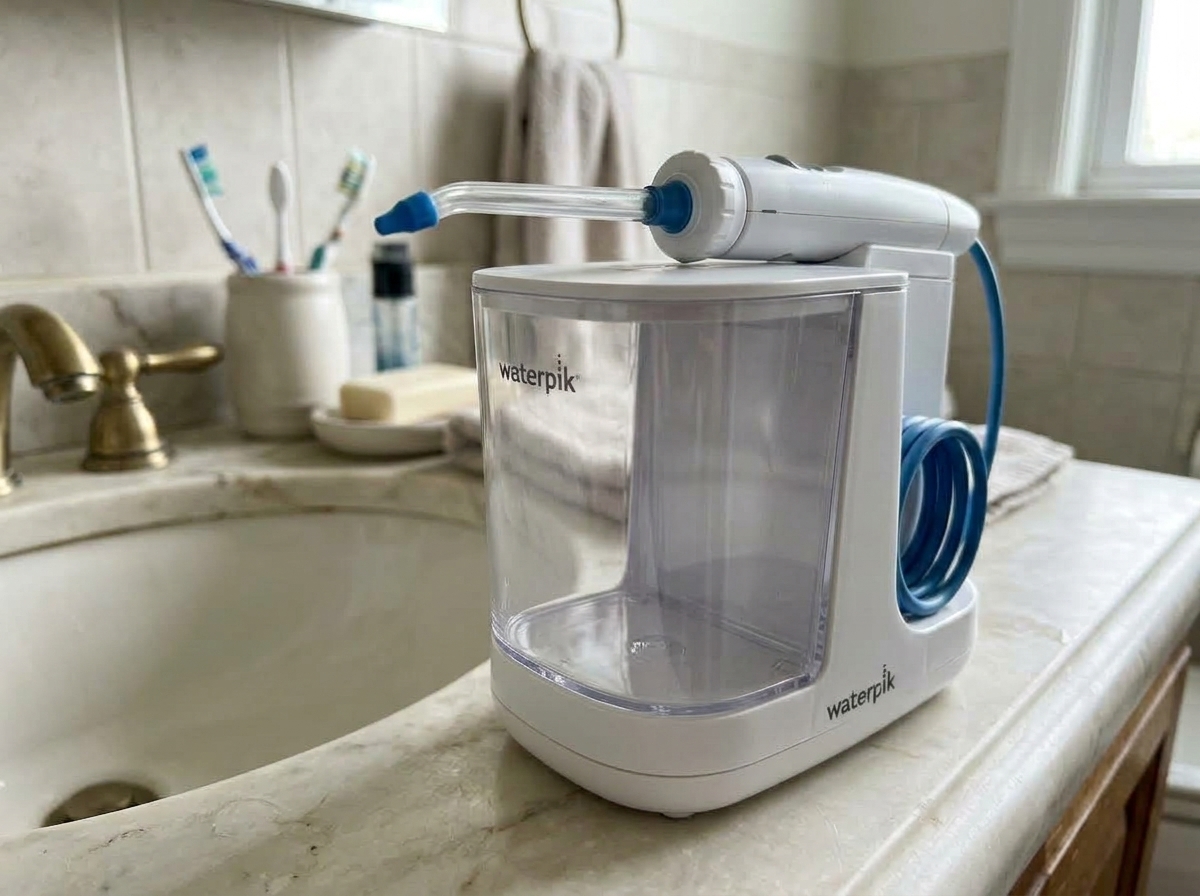
- Lift and detach the transparent water reservoir tank from the main flosser body.
- Gently push and detach the black rubber flow valve gasket located at the bottom of the reservoir.
- Press the tip release button on the handle to eject the currently attached nozzle tip.
Step 2: Wash Reservoir & Seals with Mild Soap
- Dilute 1-2 drops of mild liquid dish soap in lukewarm water (below 35°C / body temperature).
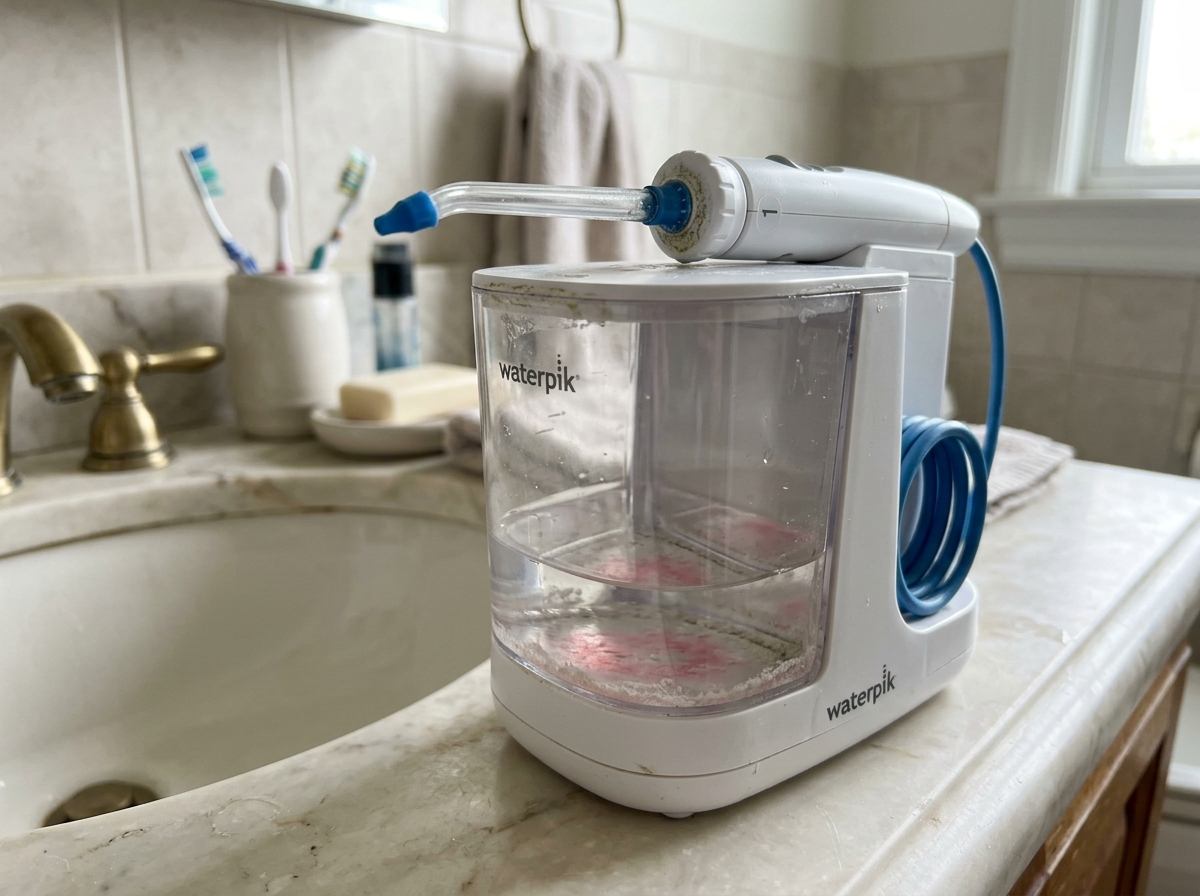
- Clean the interior corners and floor of the water reservoir with a soft sponge to remove pink slime.
- Use a soft detail brush or cotton swab to gently remove biological residue from the rubber valve gasket.
- Never use boiling water or dishwasher heated dry cycles to prevent warping thin plastic components.
Step 3: Internal Pump Descaling Cycle with Citric Acid Solution
- Fill reservoir with 300ml lukewarm water and dissolve 1 tbsp citric acid (or mix 2 parts water to 1 part white vinegar).
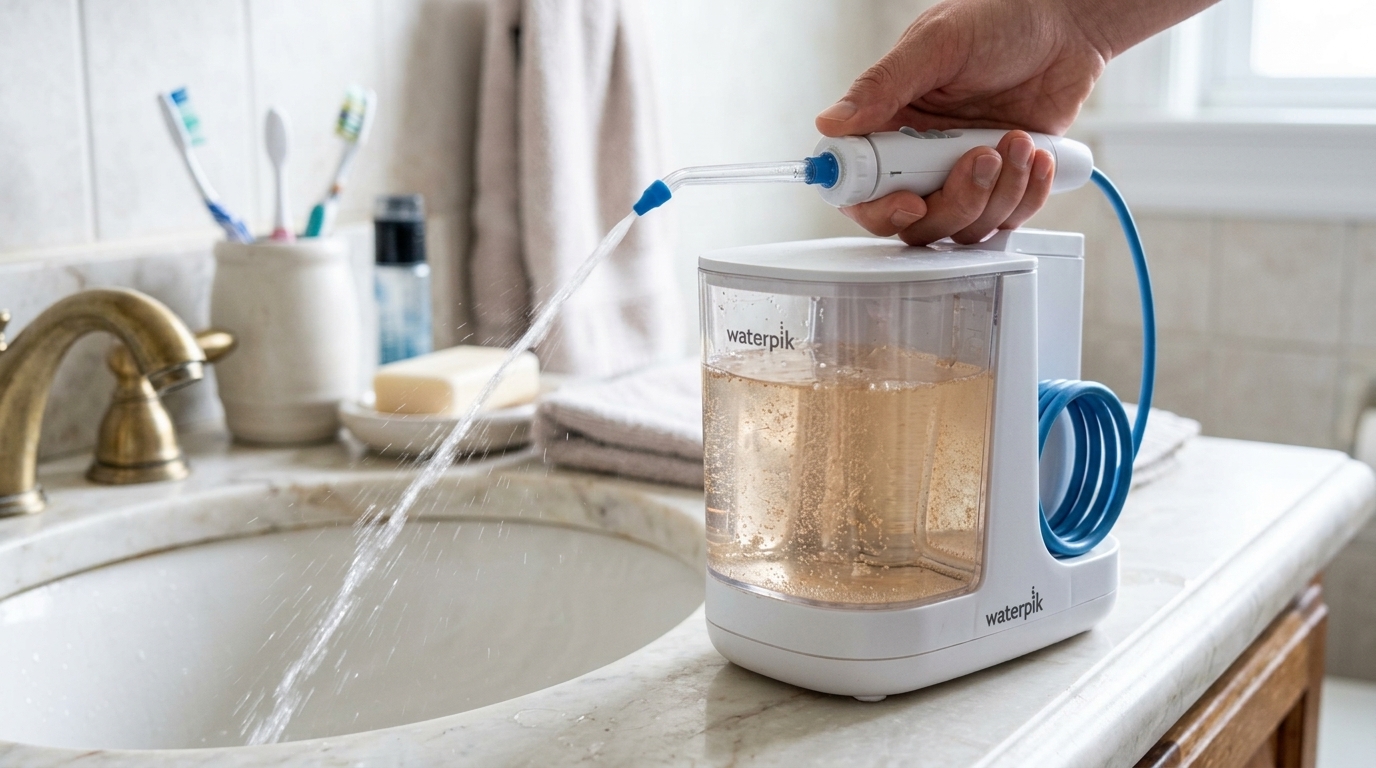
- Reattach the rubber valve and reservoir to the base, pointing the handle nozzle tip into the bathroom sink.
- Turn on the unit at the lowest pressure setting and pump about half the descaling solution through the tubing.
- Turn off power and let the solution soak inside the internal pump and delivery hose for 5-10 minutes to dissolve mineral scale.
- Turn power back on to flush the remaining descaling solution completely into the sink basin.
Step 4: Soak & Clean Nozzle Tip Orifices
- Place nozzle tips in a small cup filled with warm citric acid or vinegar solution for 5-10 minutes.
- Once white calcium crust dissolves, rinse the nozzle thoroughly under warm running tap water.
- Wipe moisture from the handle connector and nozzle base O-ring using a dry microfiber cloth.
- Gently swab the handle tip cavity with a clean cotton bud to remove hidden moisture and grime.
Step 5: Clean Water Flush & Complete Air Drying
- Fill the reservoir completely with fresh, clean tap water and seat it onto the unit.
- Turn the power on and pump the full reservoir through to thoroughly flush away all residual acid.
- Detach the reservoir and valve seal, shake off excess water, and invert on a rack to air-dry completely for at least 2 hours.
- Wipe down the external body with a dry microfiber cloth and store in a well-ventilated, dry bathroom area.
🩺 Self-Diagnosis Guide
✅ Can be restored with care
- Visible pink slime (Methylobacterium) or mold at the bottom and corners of the water reservoir.
- White chalky mineral limescale (calcium deposits) around the nozzle tip or valve seat.
- Slightly reduced water pressure or split water jets due to internal pipe narrowing.
- Slippery biological biofilm slime forming around the bottom black rubber valve seal.
- Motor pump sounds normal and electronic power/battery charging remains stable.
❌ Reached end of lifespan (Proper disposal required)
- Severe housing cracks or broken latches leaking water directly into internal battery circuitry.
- Corroded charging ports or liquid ingress causing total power failure or electrical shorting.
- Worn motor gears spinning without building pressure or siphoning water from the reservoir.
- Torn or punctured internal water delivery hoses leaking high-pressure water inside the handle.
⚠️ Important Safety Precautions
- Never Submerge the Main Base: Even with IPX7 ratings, submerging the power base or blasting it with high-pressure shower spray can ruin internal electronics.
- Do Not Use Chlorine Bleach: Bleach rapidly degrades internal rubber gaskets and leaves toxic chemical residues unfit for oral use; stick to citric acid or white vinegar.
- Never Use Boiling Water (>50°C): Hot water will warp thin acrylic tanks, crack seals, and compromise internal pressure regulation.
- Check Charging Ports for Moisture: Ensure charging contacts on cordless units are 100% dry before plugging in to avoid short circuits and port corrosion.
💡 Cost Efficiency & Professional Inspection Guide
💡 Water Flosser Replacement Guide: 3 Key Technical Specs Before Buying
♻️ Reached end of lifespan?
Check local disposal regulations instead of forcing reuse.
❓ Frequently Asked Questions (FAQ)
Q. Is the pink slime in my water flosser reservoir toxic black mold?
A. The pink film is typically Methylobacterium or Serratia marcescens, common airborne waterborne bacteria rather than black mold. While not immediately toxic to healthy individuals, it can cause gum irritation or infections; sanitize promptly with citric acid and maintain dry storage.
Q. Which is better for descaling a water flosser: citric acid or white vinegar?
A. Both are equally effective weak acids for dissolving calcium limescale and biofilm. Citric acid is generally preferred for oral hygiene devices because it is completely odorless and requires fewer post-rinse cycles compared to pungent white vinegar.
Q. Can I add mouthwash or essential oils directly into the water flosser tank?
A. You can mix mouthwash in a 1:1 or 1:2 ratio with water. However, essential oils and flavoring additives can leave sticky residues and degrade silicone valves. Always flush the unit immediately with a full reservoir of fresh tap water after using any additive.
Q. Why has the water jet pressure dropped significantly? Is the motor failing?
A. If the motor hum sounds normal, the loss of pressure is almost always caused by mineral limescale buildup choking the narrow internal delivery pipes. Running a double citric acid descaling cycle (Step 3) typically restores full factory water pressure immediately.
Q. How often should I replace water flosser replacement tips?
A. Tips should be replaced periodically. Standard classic jet tips should be replaced every 6 months, while orthodontic, periodontal pocket, and plaque seeker tips with delicate bristles should be replaced every 3 months for optimal plaque removal.