Electric Fan Deep Cleaning & Motor Dust Maintenance Guide | Safe End-of-Season Storage
Complete maintenance guide for dismantling electric fan safety guards, washing dust-caked blades, removing motor hair tangles, and packing for safe winter storage.
🛠️ Required Tools & Cleaning Agents
🔄 Alternative Detergents & Eco Tips
- Neutral Dish Soap → Alt: Diluted Baking Soda Water (Effectively cuts through sticky kitchen grease adhering to fan blades)
- Fan Storage Cover → Alt: Large Clean Garbage Bag or Garment Bag (Blocks dust accumulation during off-season winter storage)
✨ Step-by-Step Care Instructions
Step 1: Unplug Power & Disassemble Front Guard
- Unplug the electric fan power cord from the wall outlet.
- Loosen the safety screw at the bottom of the front guard (if present).
- Unclip perimeter locking latches and remove the front wire safety guard.
Step 2: Unscrew Blade Cap & Remove Fan Blades
- Turn the center blade spinner clockwise (reverse thread) to loosen and remove it.
- Slide the fan blade unit straight off the center motor shaft.
- Unscrew the rear guard retaining nut (counter-clockwise) and remove the rear wire guard.
Step 3: Wash Blades & Guards in Bathroom Sink
- Take plastic blades and metal wire guards into the bathroom or sink.
- Wash with lukewarm water, mild dish soap, and a soft sponge to remove oily dust.
- Rinse thoroughly with clean running water.
Step 4: Vacuum Motor Housing Dust & Wipe Main Body
- Use a vacuum crevice tool to suck dust out of the rear motor ventilation slots.
- Wipe the motor housing, stand neck, and button control base with a damp microfiber cloth.
- Never pour water directly over the motor or electrical control base.
Step 5: Dry Completely, Reassemble & Cover for Storage
- Dry all plastic and metal parts 100% with a dry towel in a shaded area.
- Reassemble rear guard, blade, spinner cap, and front guard securely.
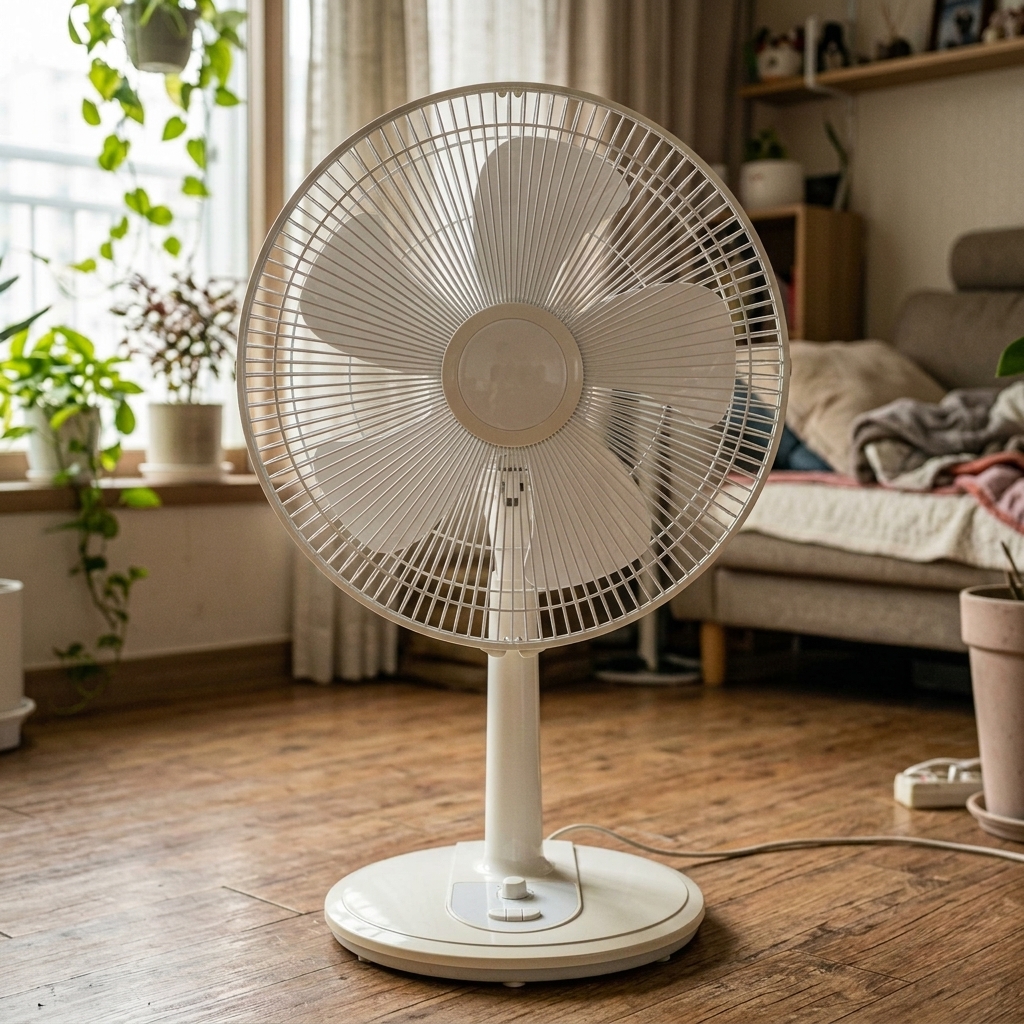
- Cover with a breathable fan dust cover and store in a dry, ventilated closet.
🩺 Self-Diagnosis Guide
✅ Can be restored with care
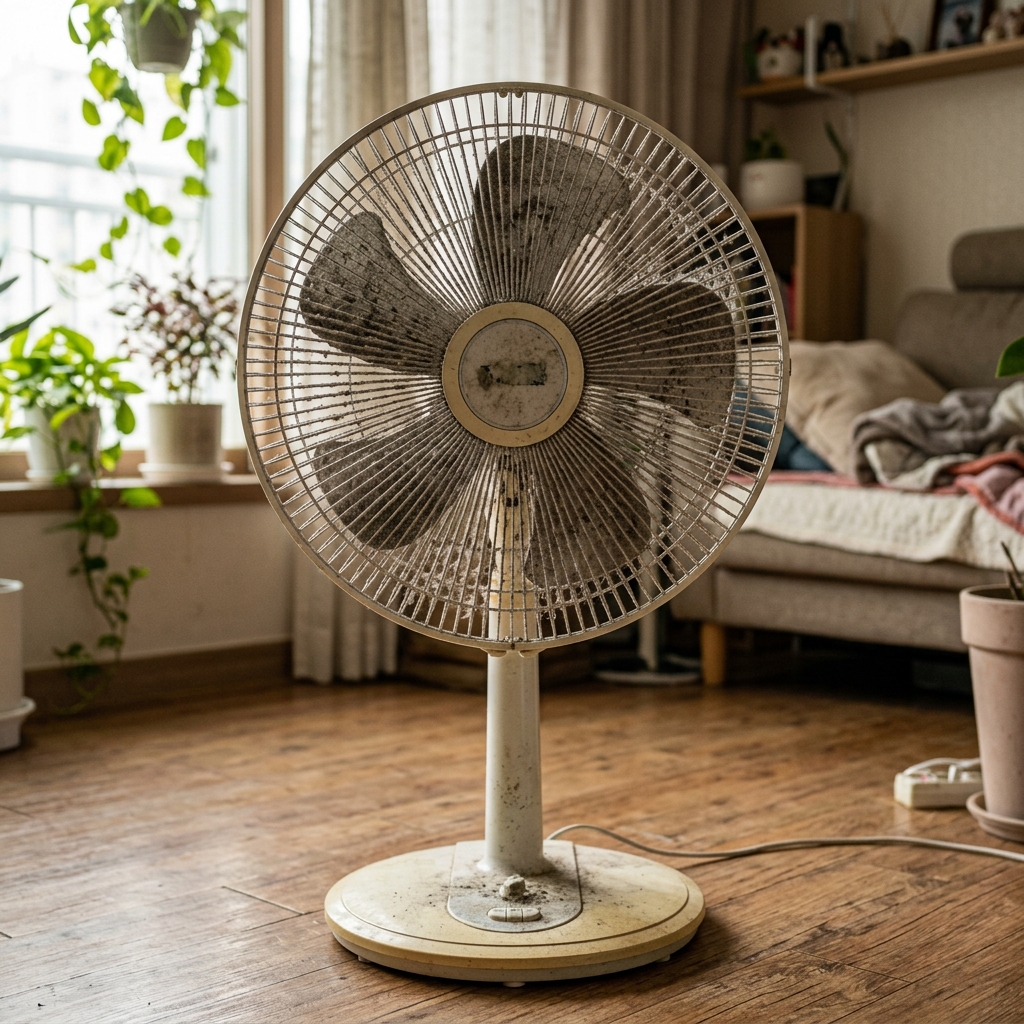
- Fan safety guards and blades covered with thick gray lint and dust
- Airflow feels weak or makes a slight humming noise due to dust drag
- Fan motor housing dusty but spins smoothly by hand
❌ Reached end of lifespan (Proper disposal required)
- Motor bearing seized, fan blade fails to spin, or emits burning electrical smell
- Power cord frayed, sparking, or loose oscillation neck broken
- Fan is over 10 years old with motor overheating fire hazard warning
⚠️ Important Safety Precautions
- Never immerse or spray water onto the electric motor housing or button controls.
- Note that fan blade center spinners are reverse-threaded (turn clockwise to loosen).
- Do NOT use fan if motor makes grinding screeching noises or smells of burnt plastic.
💡 Electric Fan & Air Circulator Replacement Guide: 3 Key Technical Specs Before Buying
♻️ Reached end of lifespan?
Check local disposal regulations instead of forcing reuse.
❓ Frequently Asked Questions (FAQ)
Q. Why does the center blade cap turn the opposite way?
A. Fan blade caps have left-handed (reverse) threads. As the fan spins counter-clockwise, normal rotation keeps the cap tightened, preventing it from coming loose during operation.
Q. How do I remove sticky yellow grease from kitchen fans?
A. Soak fan blades in warm water with 2 tablespoons of baking soda and dish soap for 10 minutes. Alkaline baking soda dissolves oily kitchen grease effortlessly.
Q. Why is the fan motor running hot and spinning slowly?
A. Hair and dust tangled around the motor shaft increase friction, causing motor overheating and fire risks. Disconnect power, vacuum the motor vents, and replace if the shaft remains stiff.