AirPods & Wireless Earbuds Earwax & Case Iron Dust Deep Cleaning Guide | Blu-Tack & Isopropyl Alcohol Audio Restoration
Complete precision hygiene guide for safely extracting hardened earwax from acoustic speaker meshes and removing stubborn black magnetic iron dust stains from AirPods charging cases using Blu-Tack adhesive putty and 70% isopropyl alcohol.
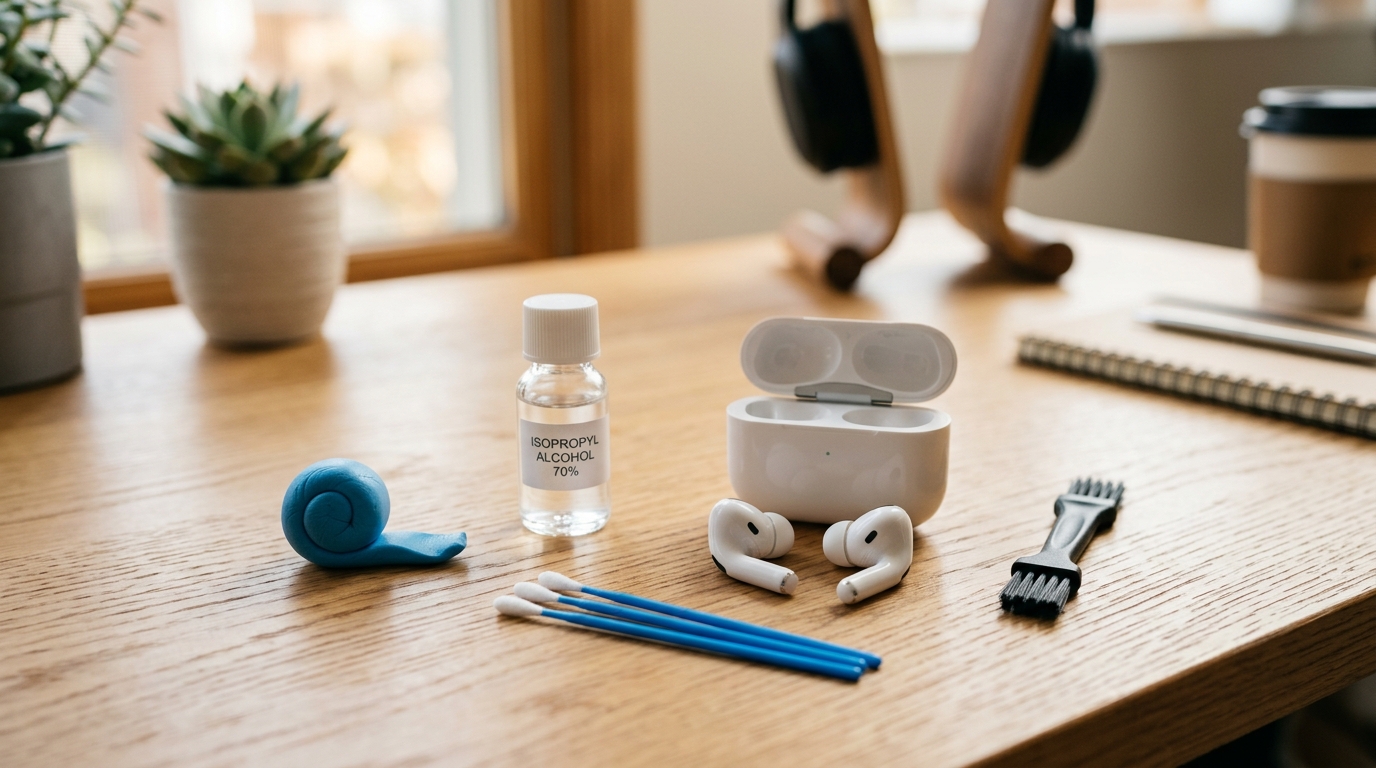
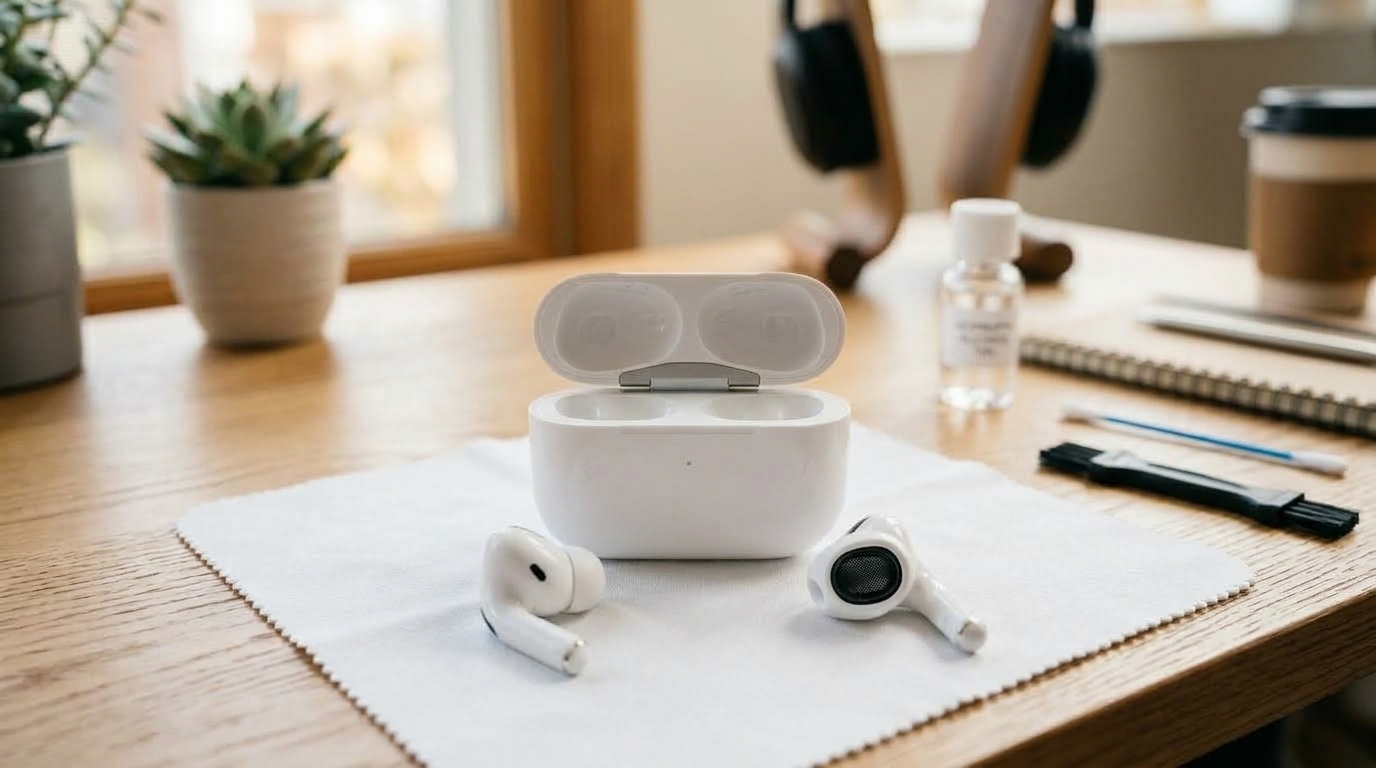
🛠️ Required Tools & Cleaning Agents
🔄 Alternative Detergents & Eco Tips
- Blu-Tack Adhesive Putty → Alt: Paper Masking Tape or Cleaning Gel (Safely pulls out compacted earwax without pushing debris deeper into acoustic mesh)
- 70% Isopropyl Alcohol → Alt: Electronics Screen Cleaning Swabs (Rapidly dissolves sebum oils and sanitizes without leaving corrosive moisture)
✨ Step-by-Step Care Instructions
Step 1: Remove Silicone Ear Tips & Inspect Speaker Mesh Grime
- Firmly pinch and pull the silicone ear tips off in-ear earbuds like AirPods Pro.
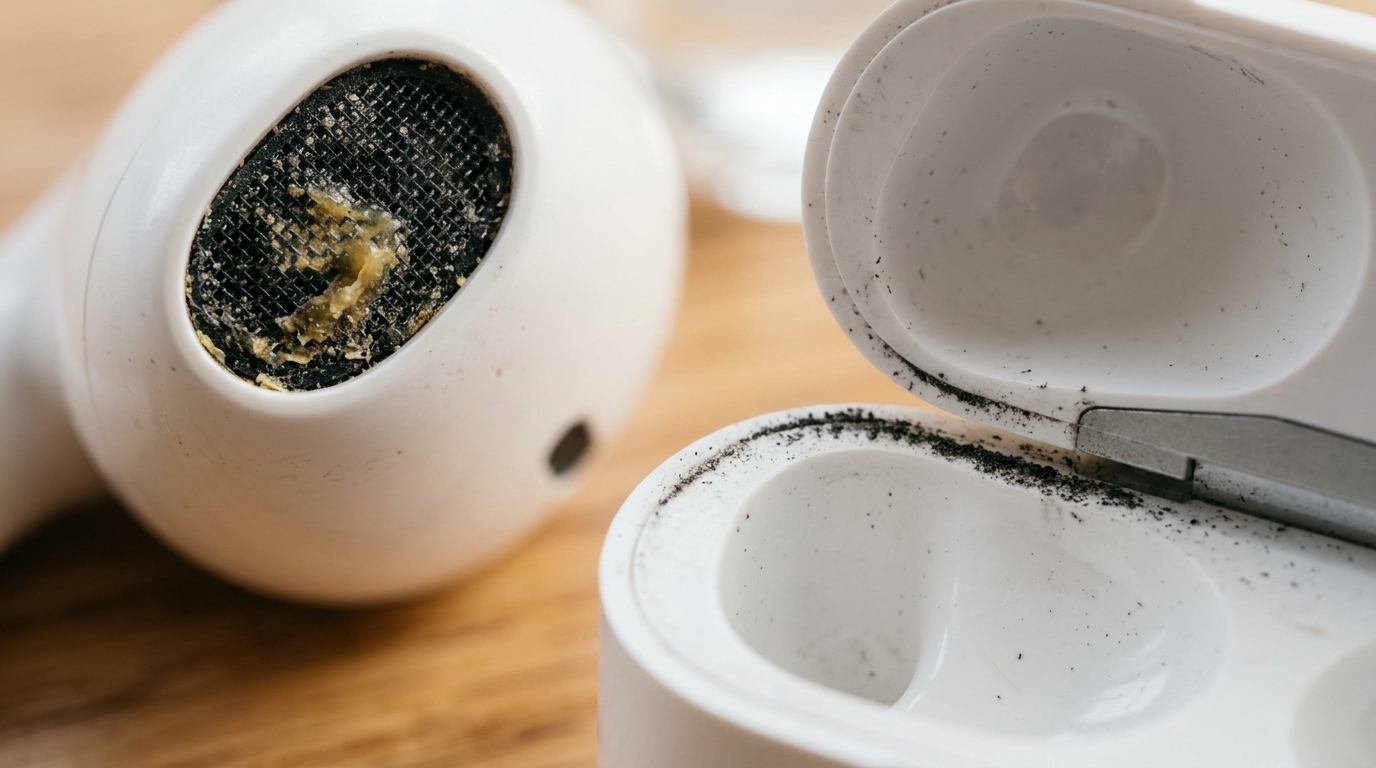
- Inspect the black acoustic mesh, side vents, and bottom microphone holes under bright light.
- Check the extent of black iron dust baked along the magnetic lid closure perimeter.
- ★Caution: Never probe sharp metal objects into the gold charging contact pins inside the case.
Step 2: Lift Hardened Earwax from Speaker Mesh Using Blu-Tack Putty
- Knead a small piece of Blu-Tack between your fingers for 30 seconds until warm and pliable.
- Shape the putty into a small cone tip and press gently against the speaker acoustic mesh.
- Quickly pull the putty straight outward to mechanically lift embedded earwax deposits.
- Repeat 3 to 5 times until the light shines cleanly through the micro-perforations of the mesh.
Step 3: Wipe Magnetic Iron Dust Lines with 70% Isopropyl Alcohol Swab
- Lightly dampen a precision micro swab with 1 to 2 drops of 70% isopropyl alcohol.
- Dab the swab on a paper towel to remove excess liquid (prevent moisture ingress).
- Gently roll the swab along the magnetic seams and groove lines of the charging case lid.
- Use the blunt tip of a wooden toothpick to gently loosen stubborn baked-in iron particles.
Step 4: Wash Silicone Tips & Brush Microphone and Sensor Vents
- Wash detached silicone ear tips in warm water with a drop of mild dish soap and rinse thoroughly.
- Use a dry, soft anti-static brush at a 45-degree angle to sweep dust out of optical sensors and mic ports.
- Buff the silver charging contact rings at the bottom of the earbud stems with a dry microfiber cloth.
- Carefully rotate a dry cotton swab inside the case charging wells to clear loose lint.
Step 5: Evaporate Residual Alcohol Completely & Buff with Microfiber Cloth
- Dry the washed silicone ear tips thoroughly with paper towels and allow 10 minutes to air dry.
- Let the alcohol-cleaned earbuds and case rest in a ventilated space for 5 minutes for 100% evaporation.
- Snap the dry silicone ear tips back onto the earbud nozzles until an audible click is heard.
- Gently buff the entire exterior with a microfiber cloth to restore an immaculate, factory-fresh shine.
🩺 Self-Diagnosis Guide
✅ Can be restored with care
- Speaker acoustic mesh clogged with yellow earwax, significantly muffling playback volume
- Black magnetic iron dust particles adhering stubbornly to charging case lid rims
- Silicone ear tips coated in slick skin oils, triggering ear canal irritation and slipping
- Microphone and noise-canceling external vents choked with lint, degrading call clarity
- Battery charging and Bluetooth pairing operate normally without corrosion on contacts
❌ Reached end of lifespan (Proper disposal required)
- Speaker diaphragm torn internally, producing severe metallic rattling and distorted buzzing
- Complete water submersion causing internal PCB short circuits, overheating, and charging failure
- Gold-plated pogo contact pins inside charging wells bent or snapped, preventing charging
- Earbud lithium-ion battery degraded completely, losing charge within 10 minutes of use
⚠️ Important Safety Precautions
- Never use sharp sewing needles, paper clips, or metal pins on speaker meshes (rips acoustic membranes).
- Never run running tap water over the earbuds or case charging ports (severe short circuit hazard).
- Do NOT use compressed air cans directly on speaker meshes (forces debris deeper onto the diaphragm).
- Avoid applying excessive force on the delicate gold charging pins inside the case wells.
- Carefully control alcohol dampness on swabs to prevent solvent from dripping into internal seams.
💡 Wireless Earbuds Replacement Guide: 3 Key Technical Specs Before Buying
♻️ Reached end of lifespan?
Check local disposal regulations instead of forcing reuse.
❓ Frequently Asked Questions (FAQ)
Q. Why is one of my AirPods significantly quieter than the other, and can cleaning fix it?
A. In over 90% of cases, volume imbalance is caused by a thin film of hardened earwax and sebum blocking the acoustic speaker mesh rather than hardware failure. Using Blu-Tack putty to lift the wax out of the mesh micro-holes immediately restores full high-frequency response and balanced stereo volume.
Q. Why won't ordinary wet wipes remove the black iron dust inside the AirPods case?
A. The strong neodymium magnets in the lid attract ambient ferromagnetic dust, which gets crushed into the plastic surface when the lid closes repeatedly. Because wet wipes lack solvent power, dampen a swab with 70% isopropyl alcohol and lightly scrape with a wooden toothpick to lift the particles safely.
Q. Is it safe to sanitize wireless earbuds daily with alcohol wipes?
A. Yes, wiping the exterior plastic housing and silicone ear tips with a 70% isopropyl alcohol wipe is completely safe. However, ensure the wipe is not dripping wet, and avoid rubbing liquid directly into the speaker meshes or charging ports to safeguard acoustic membranes and internal circuitry.