Gas Stove Grate & Burner Head Degreasing Guide | Sodium Percarbonate Soak Cleaning
Complete guide to removing stubborn baked-on grease, burnt food carbon, and soot from cast iron gas stove grates and burner heads using a warm sodium percarbonate plastic soak without heavy scrubbing.
🛠️ Required Tools & Cleaning Agents
🔄 Alternative Detergents & Eco Tips
- Sodium Percarbonate → Alt: Baking Soda Paste + Dish Soap Mix (Sodium percarbonate generates active oxygen microbubbles that rapidly lift carbonized oil films)
- Heavy-Duty Zipper Bag → Alt: Kitchen Sink Basin with Stopper (Sealing in a plastic bag retains hot water temperature longer for maximum chemical penetration)
- Wooden Toothpick → Alt: Interdental Brush or Thin Wire (Used to unclog narrow gas port orifices around the burner perimeter without enlarging metal holes)
✨ Step-by-Step Care Instructions
Step 1: Gas Safety Shutoff & Component Disassembly
- Turn off the kitchen gas shutoff valve perpendicular to the pipe for safety.
- Ensure the stove has cooled completely before lifting off grates, burner caps, and heads.
- Take care not to bump or bend the white ceramic spark electrode or thermocouple pins.
- Wipe loose crumbs and surface debris from the stainless cooktop using a paper towel.
Step 2: Plastic Bag Sodium Percarbonate Soak Setup
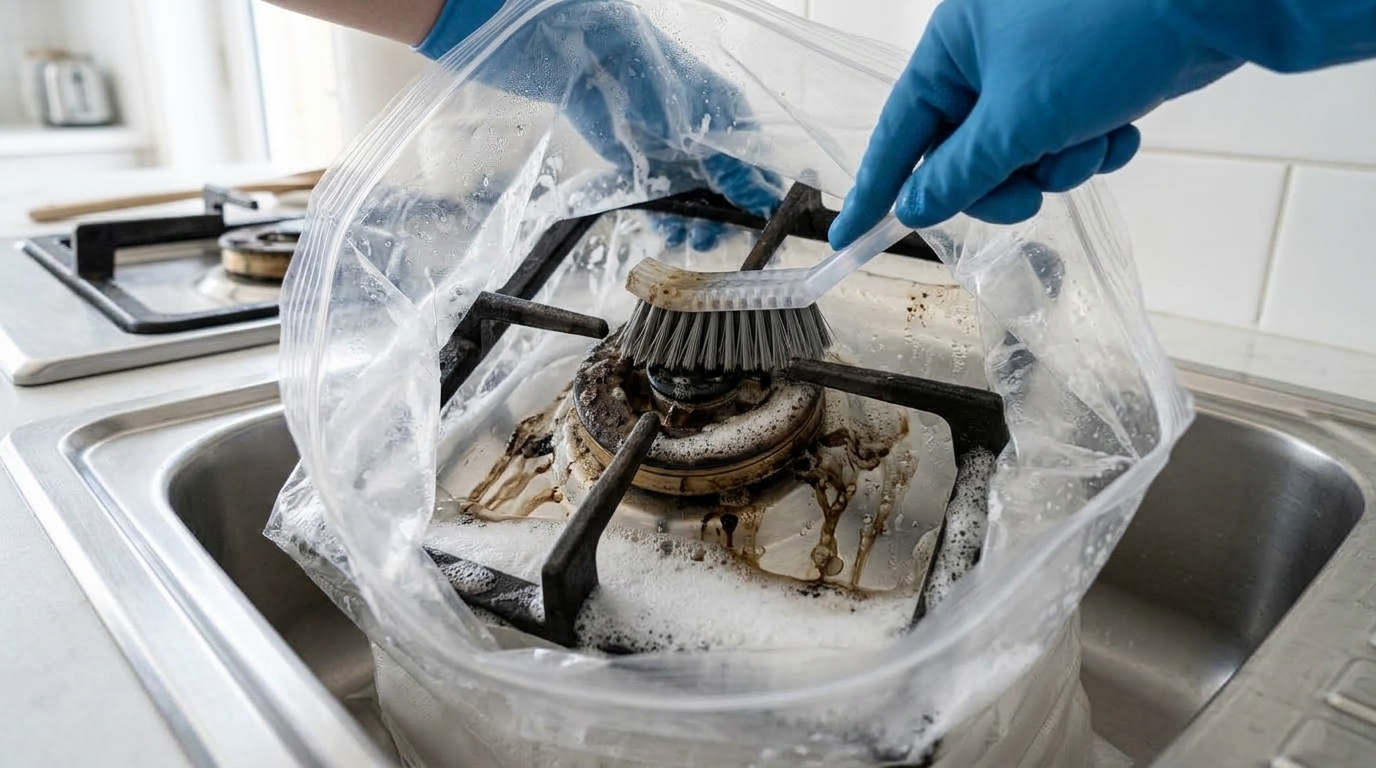
- Place the disassembled grates and burner heads inside a large heavy-duty zipper bag.
- Add 2 tablespoons (approx. 30g) of sodium percarbonate and 1 pump of liquid dish soap.
- Pour in hot water (60-70°C) until parts are submerged, activating dense oxygen foam.
- Loosely seal the bag (leaving a small vent for oxygen gas release) and soak for 20 to 30 minutes.
Step 3: Brush Away Softened Grease & Carbon Residues
- Wear rubber gloves, remove parts from the bag, and scrub with a stiff bristled brush.
- Notice the heavy baked-on grease and carbon sludge wiping away with minimal effort.
- Thoroughly clean the narrow burner flame slots using the brush bristles.
- Rinse all components under warm running water to remove soap and chemical residues.
Step 4: Clear Gas Ports with Toothpick & Clean Cooktop
- Insert a wooden toothpick into each small perimeter gas slot to clear out stubborn burnt debris.
- Wipe the cooktop surface with warm soapy water or baking soda spray to dissolve spills.
- Gently brush carbon dust off the spark ignition pin to ensure fast reliable sparking.
- Wipe the cooktop clean with a damp cloth, followed by a dry towel to eliminate streaks.
Step 5: Complete Dry Wipe, Reassembly & Flame Test
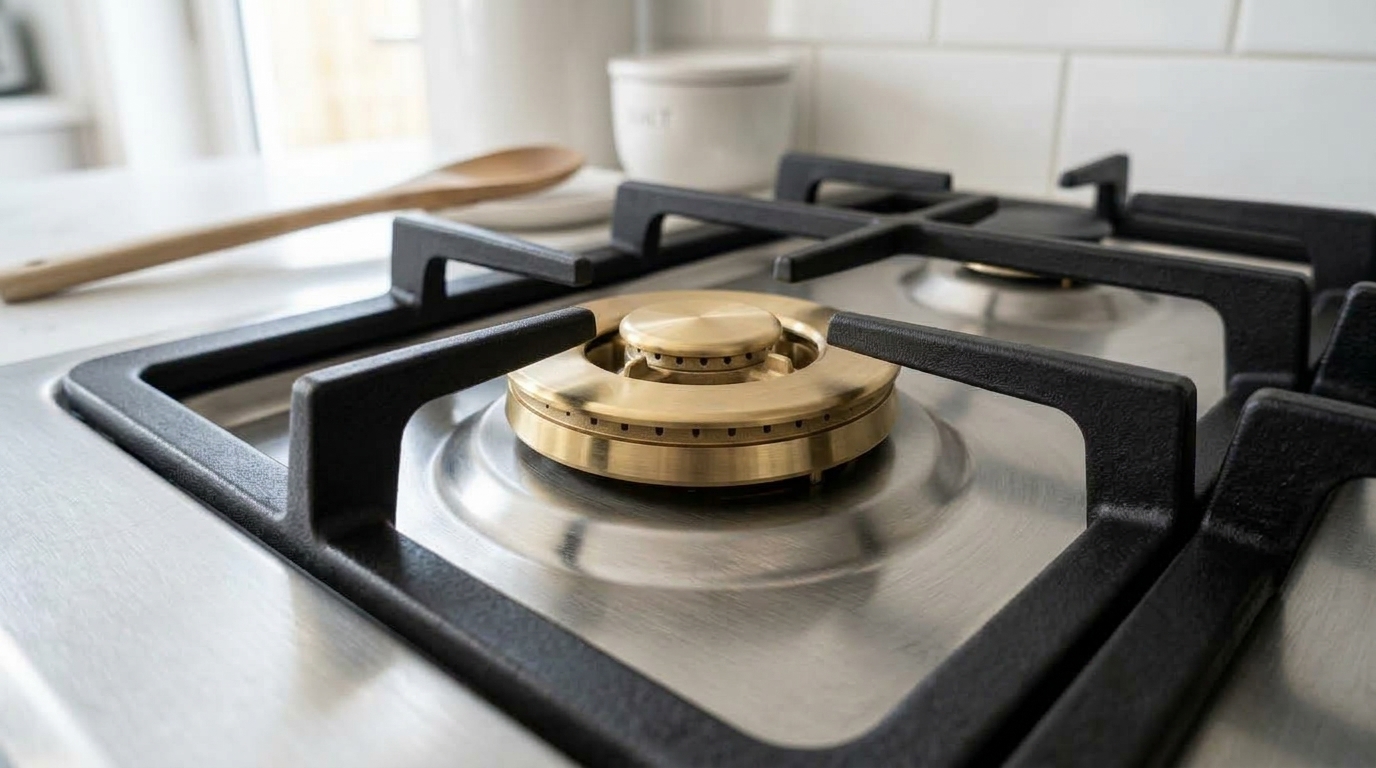
- Thoroughly dry all grates and burner heads with a clean microfiber towel.
- Align burner heads onto the cooktop bases so they sit perfectly flat and level.
- Position the cast iron grates over the burners and reopen the main gas valve.
- Ignite each burner to verify a steady, uniform 360-degree blue flame ring.
🩺 Self-Diagnosis Guide
✅ Can be restored with care
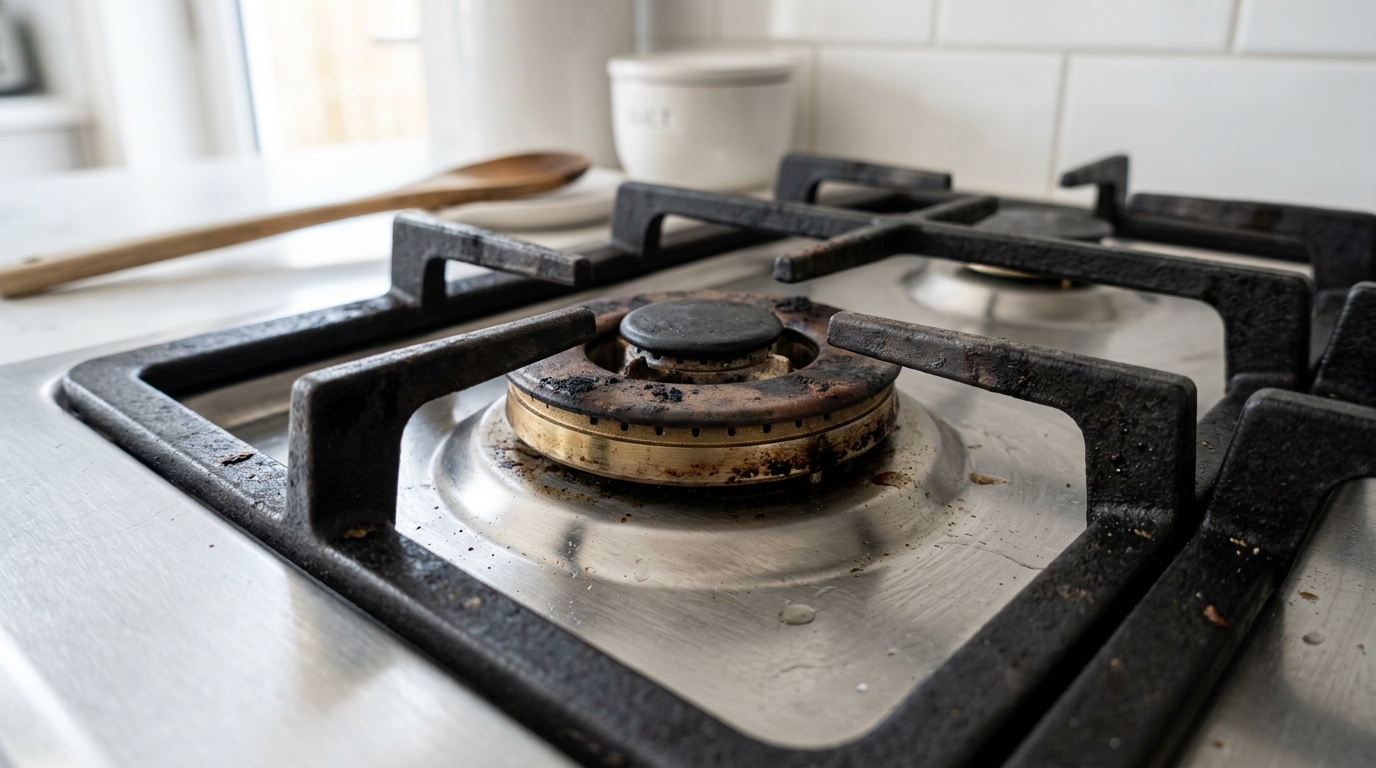
- Cast iron grates coated in tacky brown polymerized oil splatters
- Burner head perimeter showing black carbonized boil-over crusts
- Gas flame burning orange or yellow rather than crisp blue, causing soot on cookware
- Gas jet ports partially obstructed, resulting in uneven flame ring
- Cast iron structural integrity intact with no metal fractures or heavy metal erosion
❌ Reached end of lifespan (Proper disposal required)
- Cast iron support prongs snapped or fractured from extreme heat fatigue
- Internal aluminum burner base severely corroded causing continuous gas odor leakage
- Spark electrode cracked and electronic ignition microswitch permanently dead
- Cooktop stainless panel rusted through and gas valve seized frozen tight
⚠️ Important Safety Precautions
- Thermal Shock Hazard: Never submerge hot cast iron grates into cold water (causes warping or iron cracking).
- Mandatory Ventilation: Hot water mixed with sodium percarbonate releases active oxygen; always run the kitchen range hood.
- Never Seal Bag Airtight: Expanding oxygen foam builds pressure; always leave a small vent hole in the soak bag.
- Avoid Steel Wire Brushes on Enamel: Steel wool scratches protective enamel coatings, accelerating future rust and grease adhesion.
💡 Gas Stove Cooktop Replacement Guide: 3 Key Technical Specs Before Buying
♻️ Reached end of lifespan?
Check local disposal regulations instead of forcing reuse.
❓ Frequently Asked Questions (FAQ)
Q. Can I use chlorine bleach instead of sodium percarbonate to soak grates?
A. No, never use chlorine bleach on gas stove parts. Bleach aggressively corrodes cast iron, steel, and brass, causing severe rust and irreversible pitting. Sodium percarbonate is an alkaline oxygen-based cleaner that safely emulsifies heavy grease without attacking metal.
Q. Why won't my gas burner ignite or continuously clicks after cleaning?
A. This happens when moisture is trapped inside the burner slots or around the white ceramic spark electrode. Remove the burner head, blow dry thoroughly or air dry for 30 minutes, and ensure the burner head sits perfectly flat on its locating pins.
Q. Why is my gas stove flame burning yellow or orange instead of blue?
A. An orange or yellow flame indicates incomplete combustion caused by clogged burner ports restricting airflow. This wastes gas and deposits black soot onto pan bottoms. Clearing the perimeter gas slots with a toothpick restores a clean, efficient blue flame.
Q. How much does professional kitchen cooktop and stove deep cleaning cost?
A. Professional kitchen deep cleaning services typically charge between $50 to $80 for a full cooktop and range hood degreasing treatment. These services utilize commercial steam generators and degreasing dip tanks. Using our monthly soak method keeps your stove pristine at virtually zero cost.